Leatherworking projects
- CategoryFor fun
- Project dateFall 2023-Spring 2024
- Skills usedLeatherworking, burnishing, stamping, stitching, laser cutting, Adobe Illustrator
About this
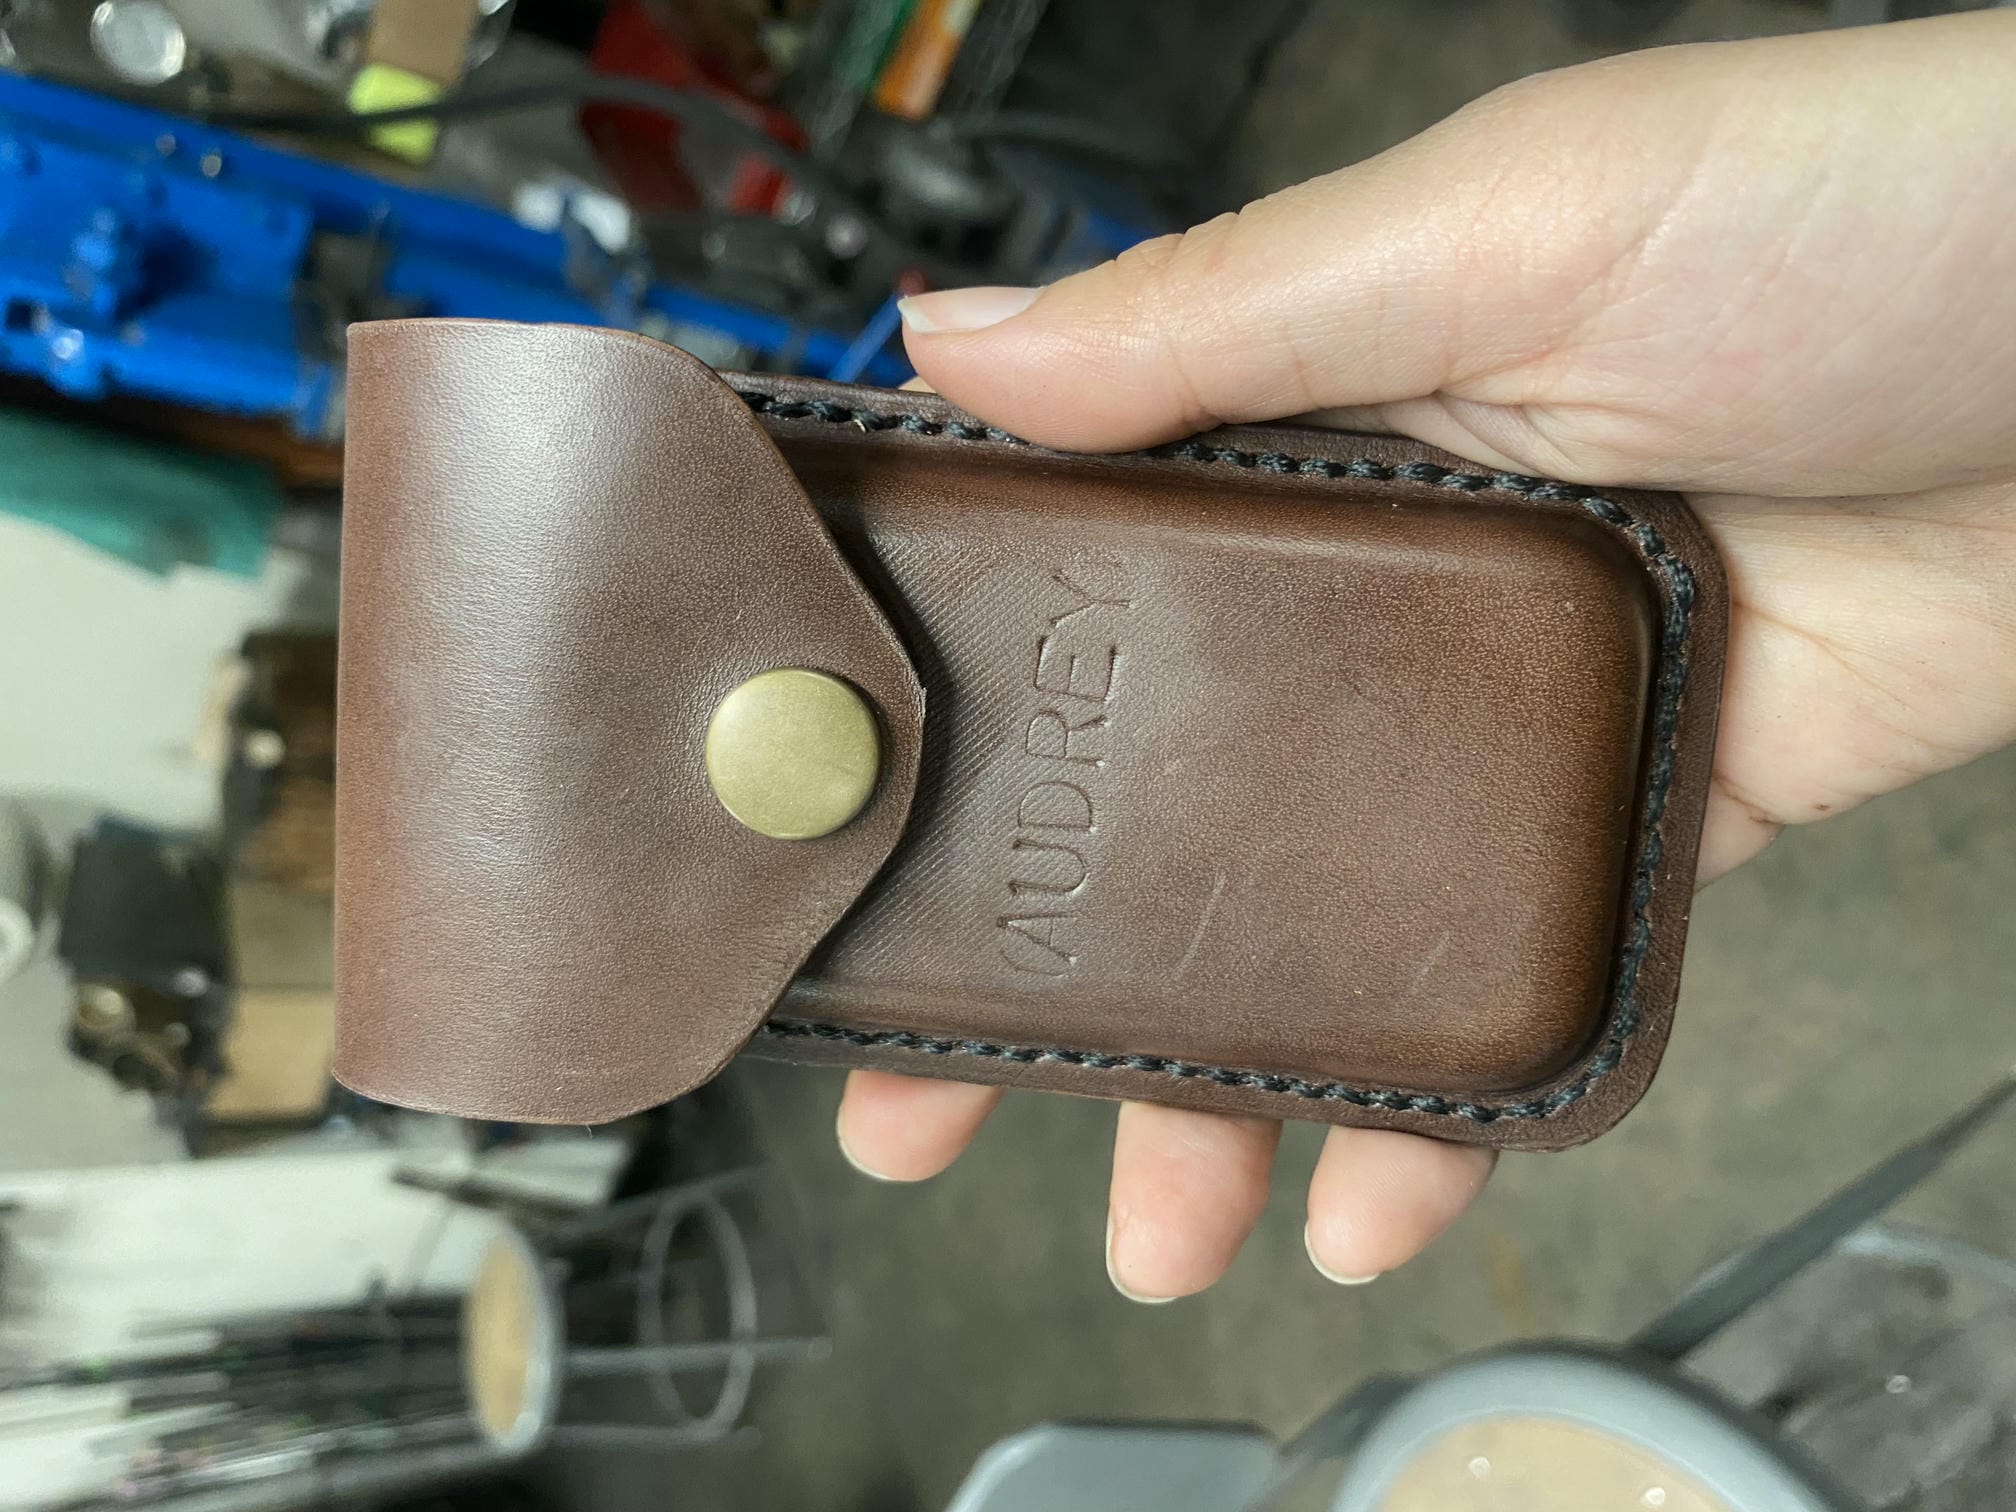
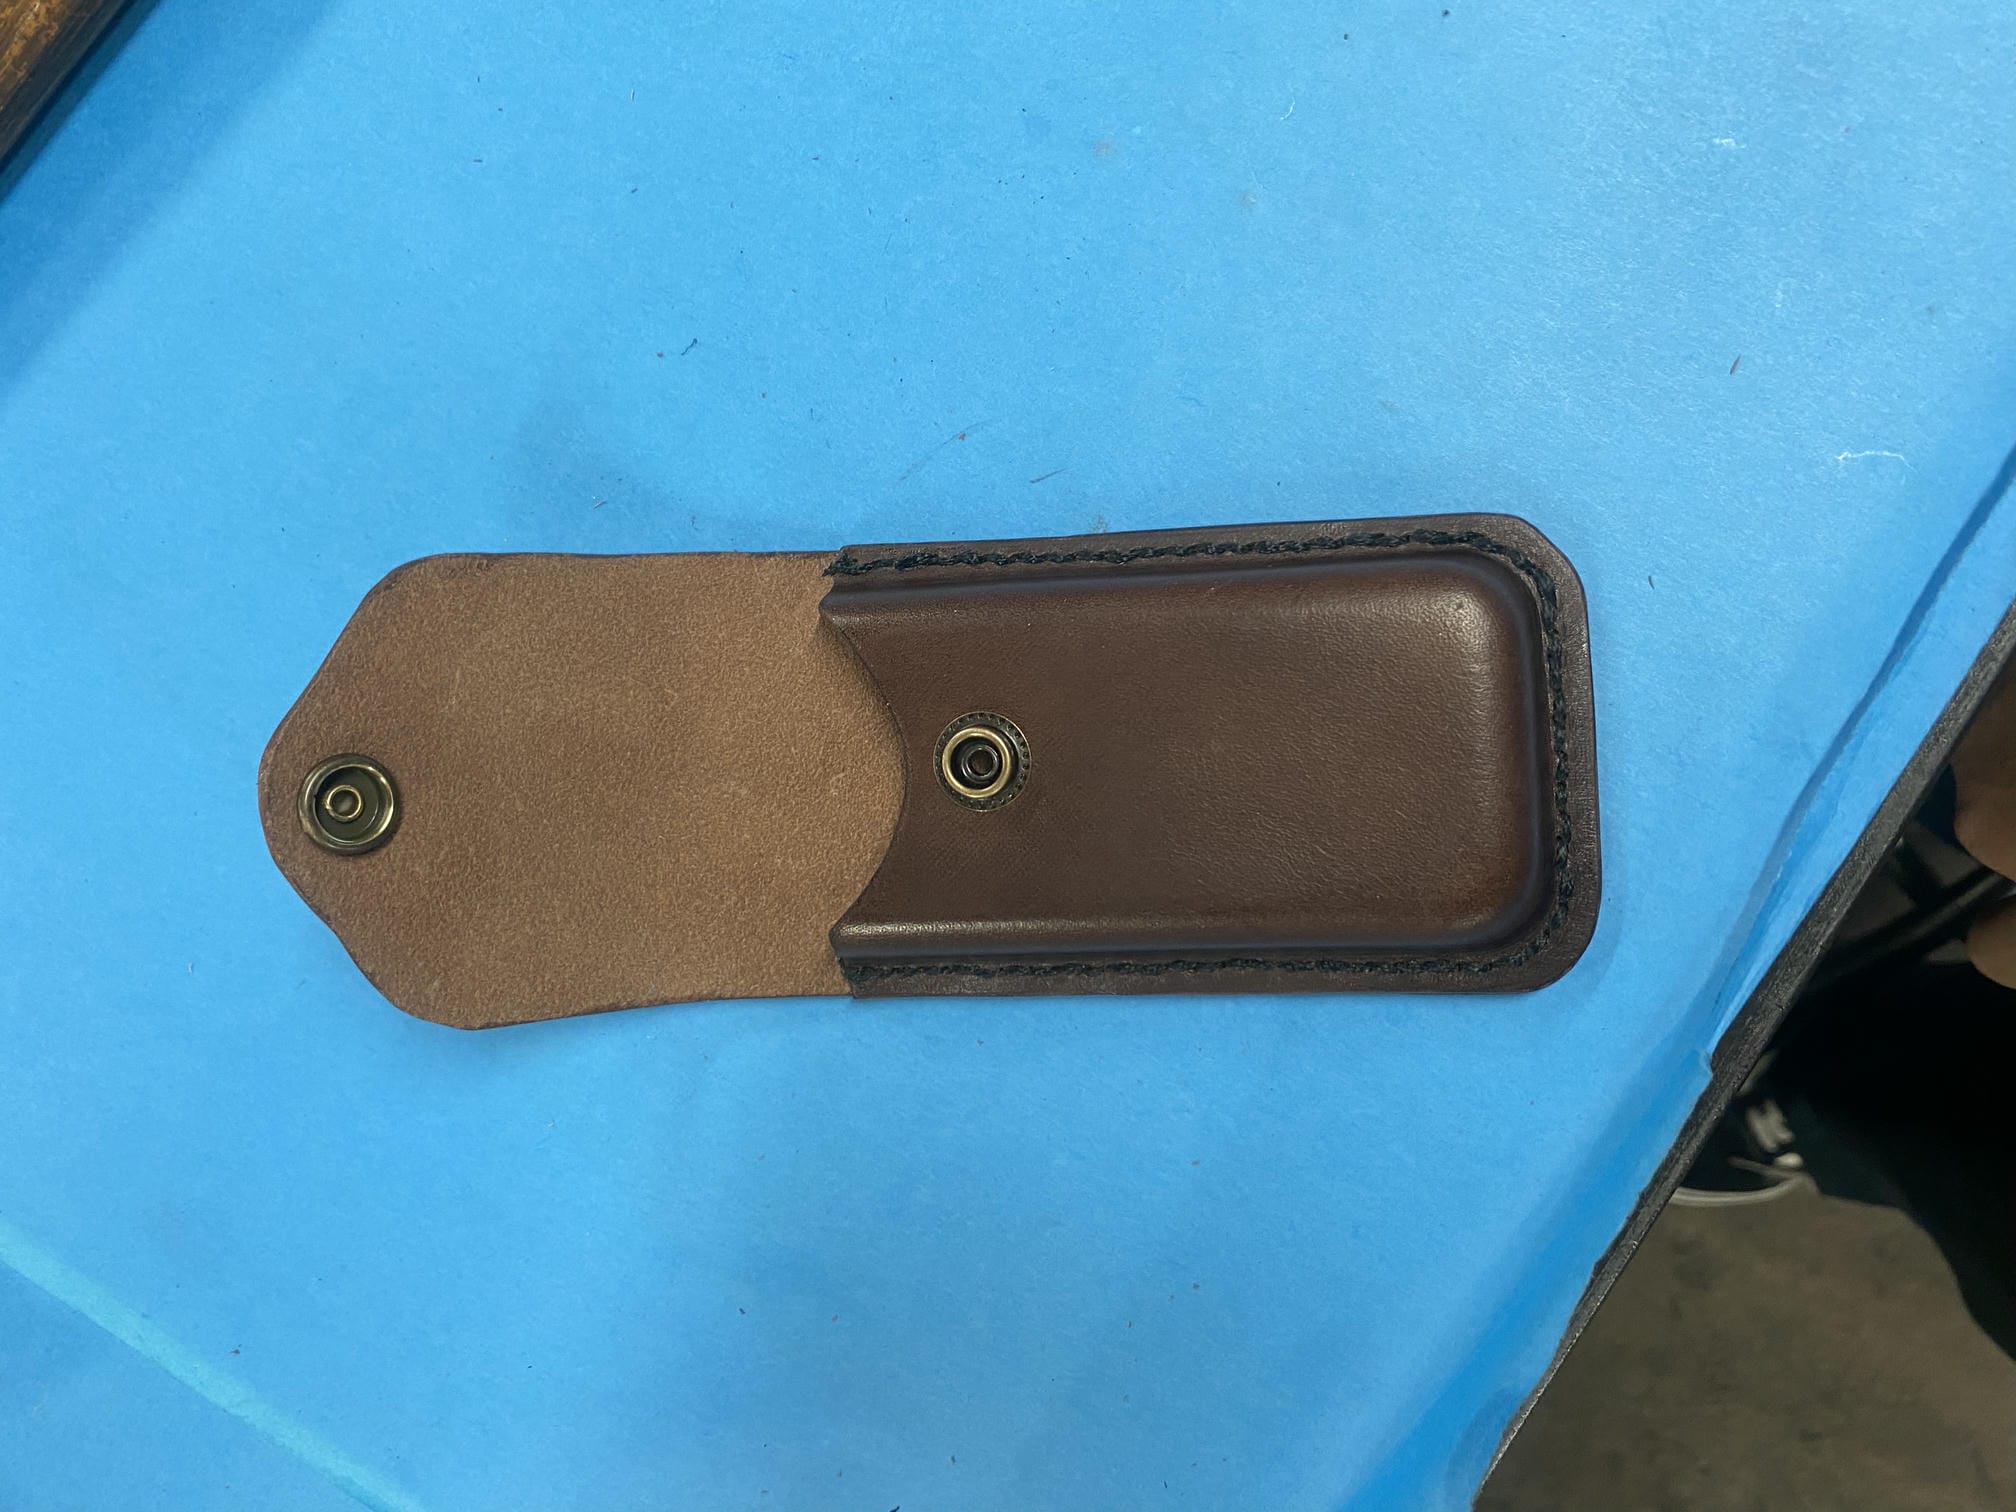
Chasing tool pouch
I've recently gotten into leatherworking! It's a super interesting material to work with. My first project was a small case for my chasing tools. I forged these chasing tools in carbon steel to use in my chase and repoussé metals projects. To see more about my blacksmithing projects, see this page!
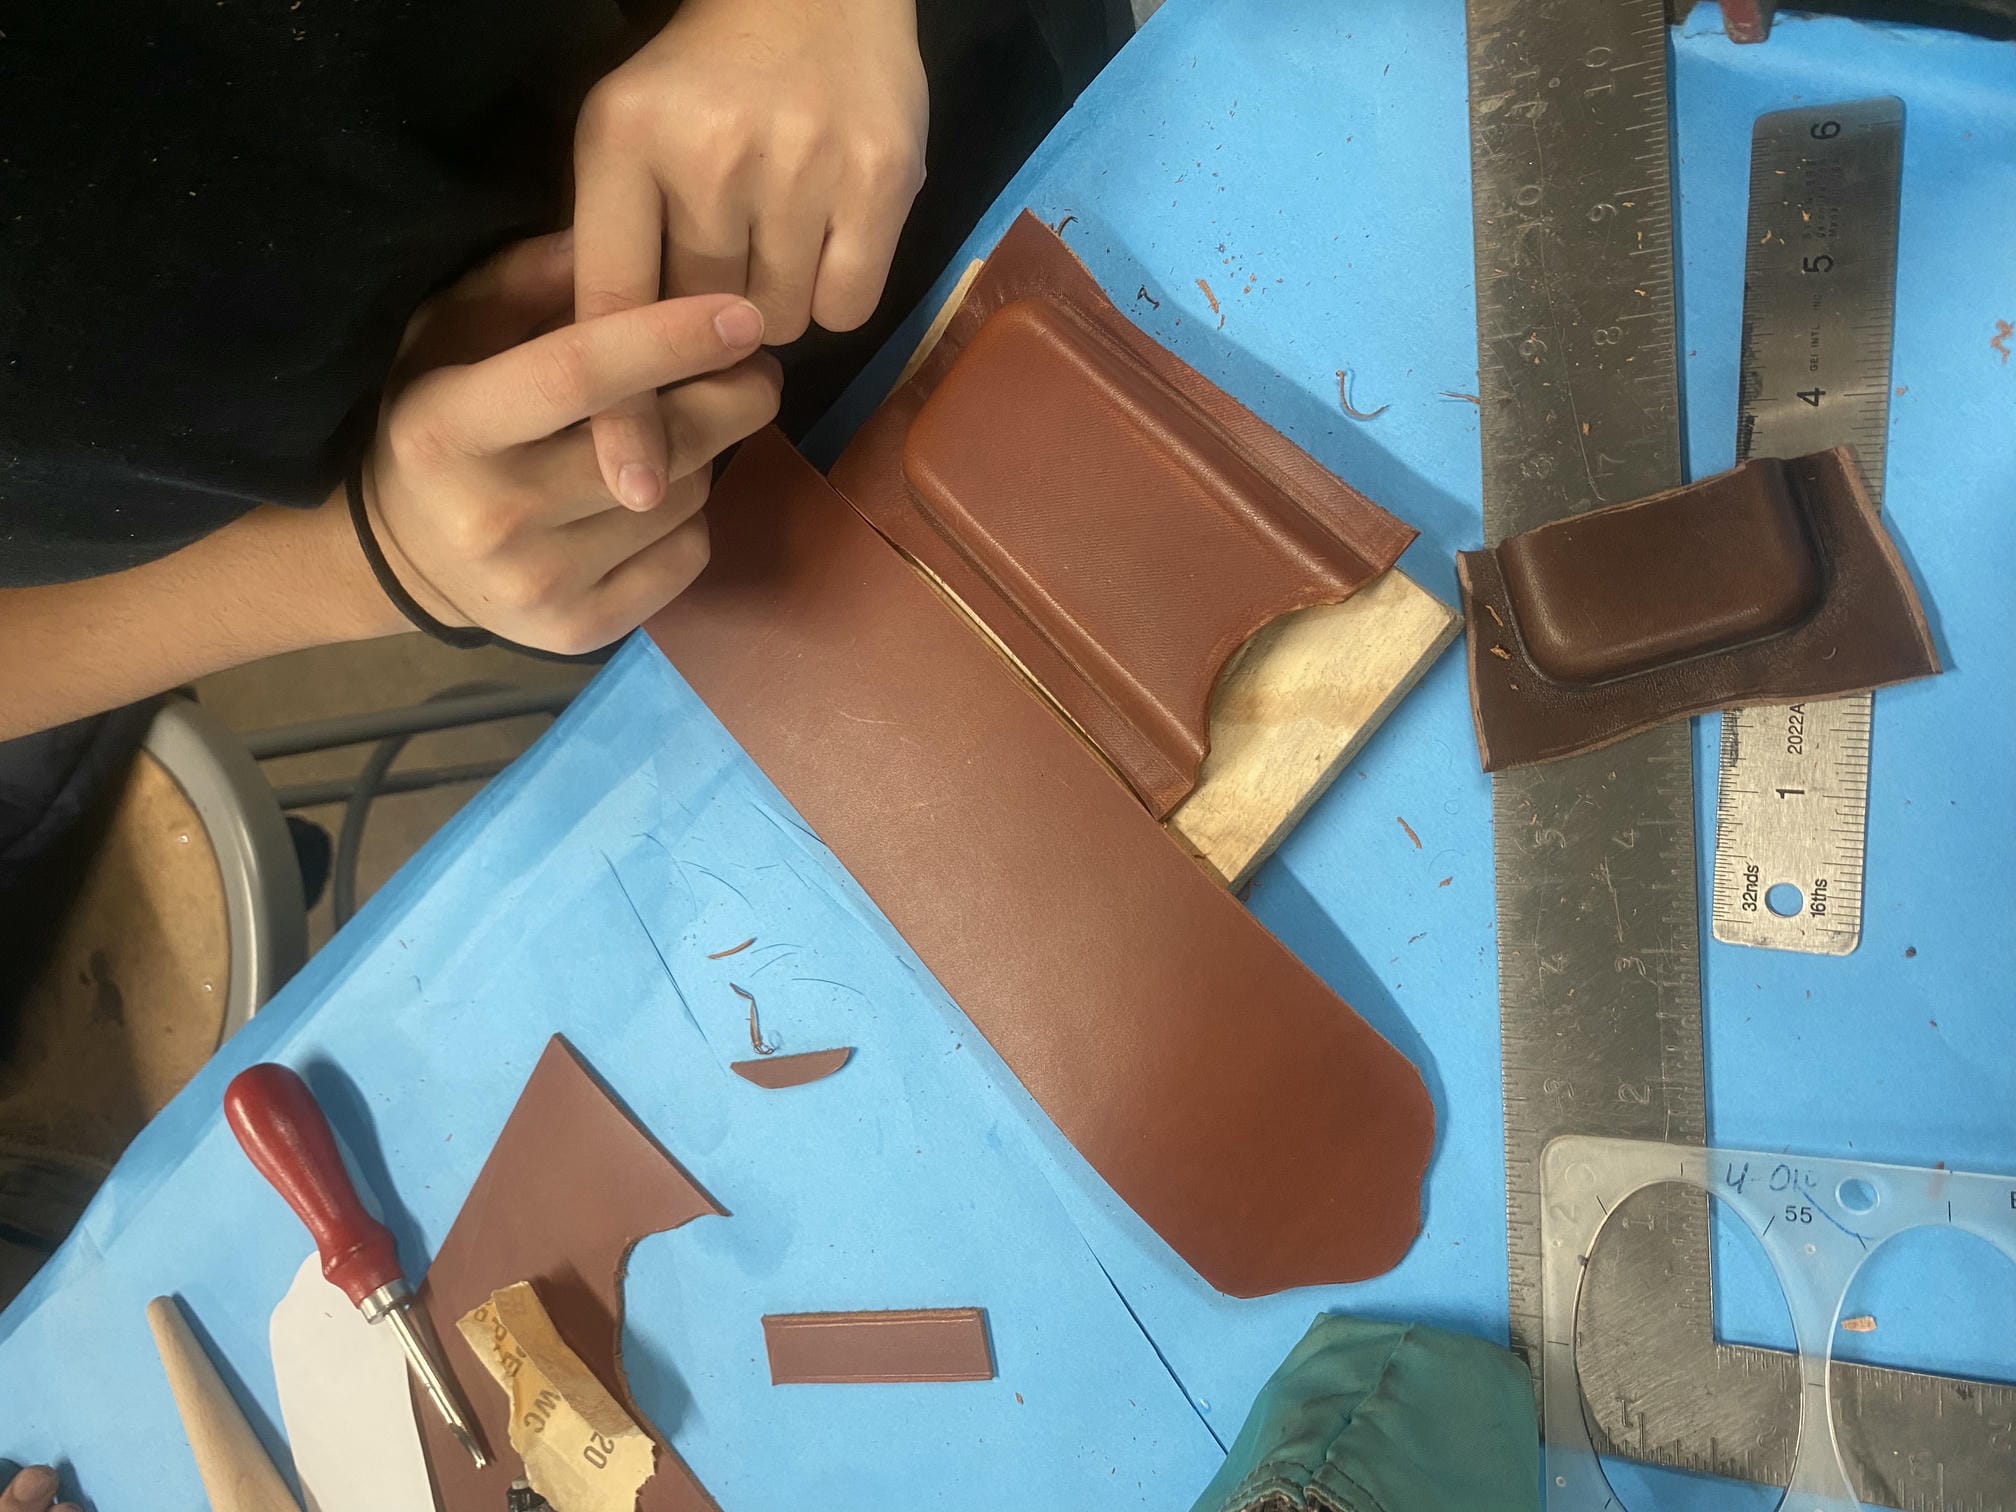
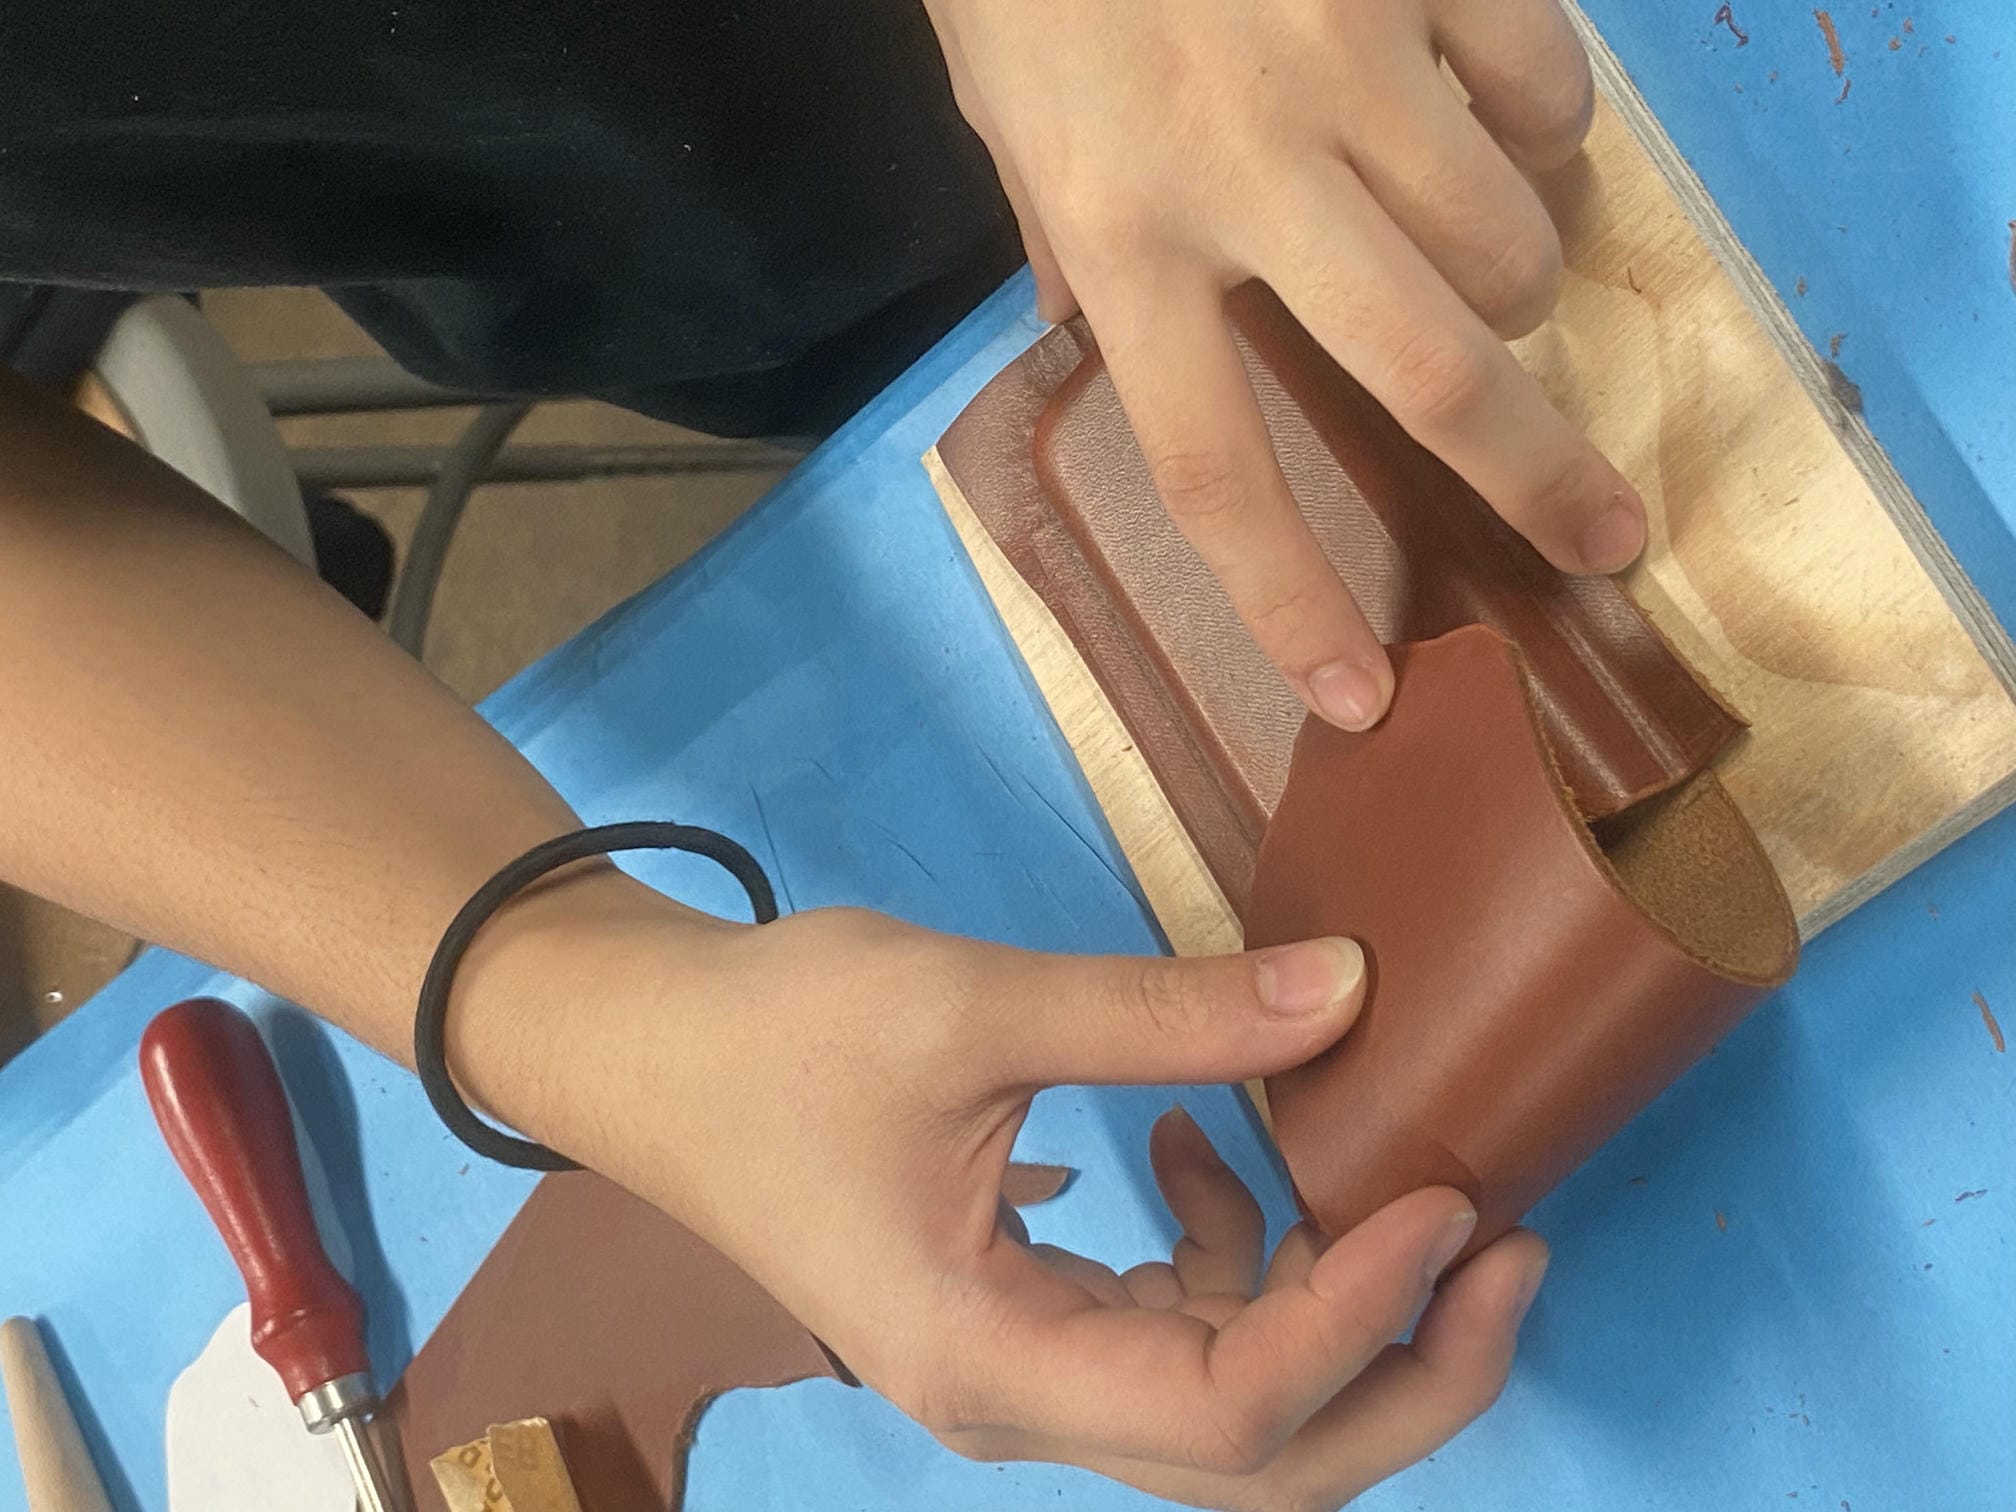
I first began by cutting out the rough shape of the leather with a utility knife, using a paper template to scratch in lines to trace along. The "pocket" section first had to be wet-formed to maintain its shape. You simply get the leather wet, then clamp it between a 3D-printed 2-piece mold to hold it in shape as it dries. After my two pieces were ready, I stamped my name into the front piece using a hammer and stamp.
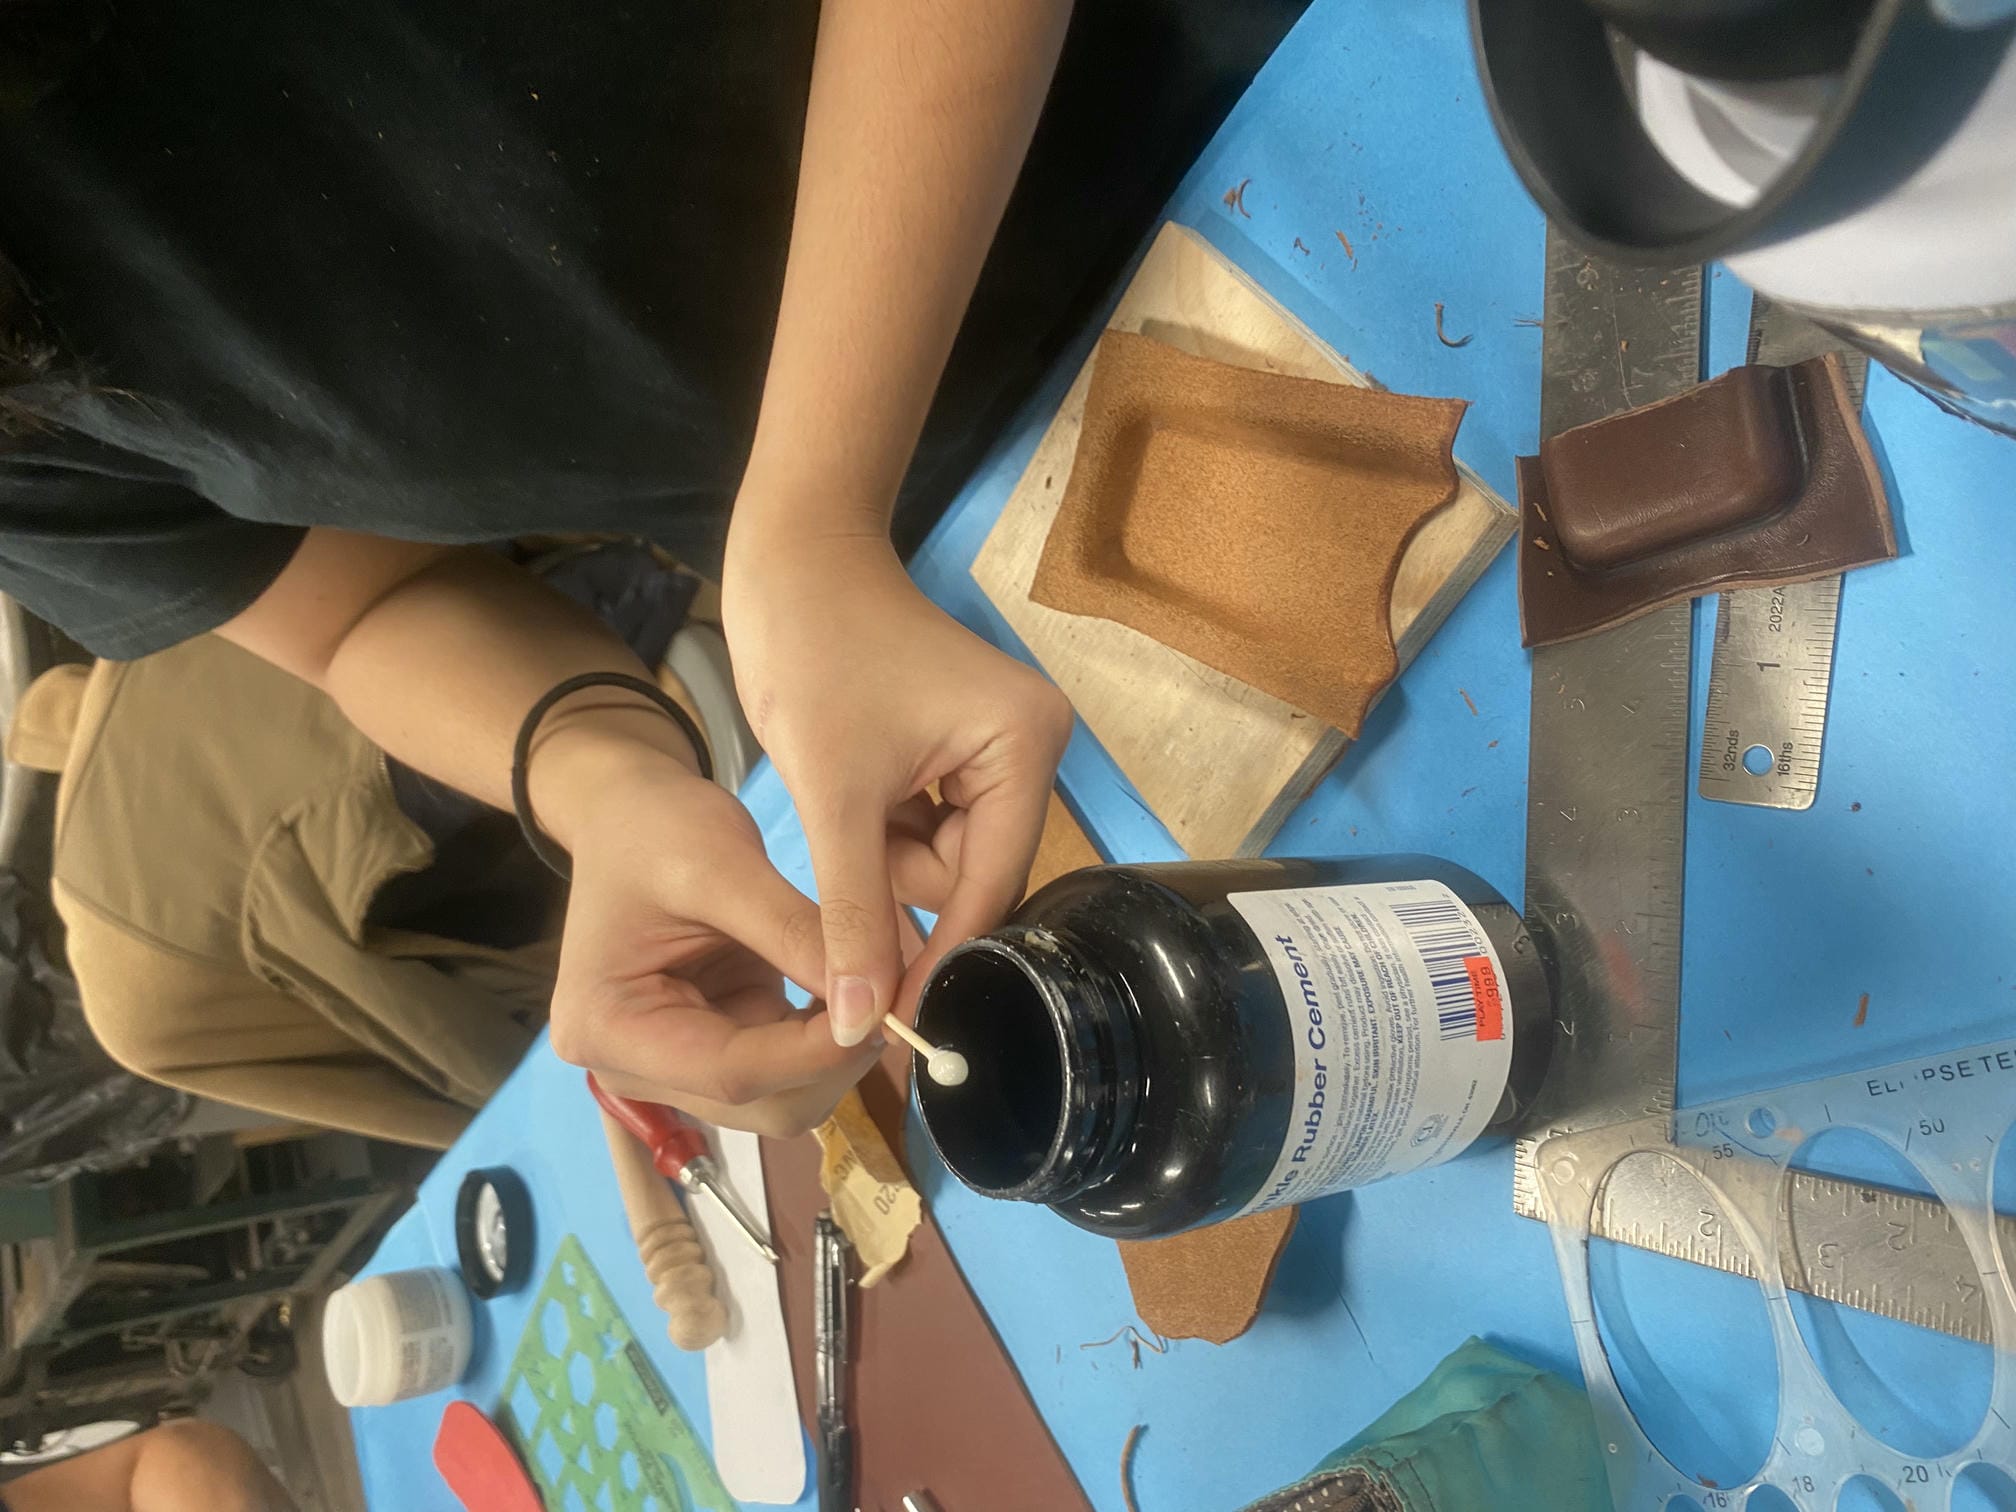
Afterward, I glued the two pieces of leather together in place using rubber cement. This glue would prevent the leather from sliding around while I chisel the holes in for the stitching.
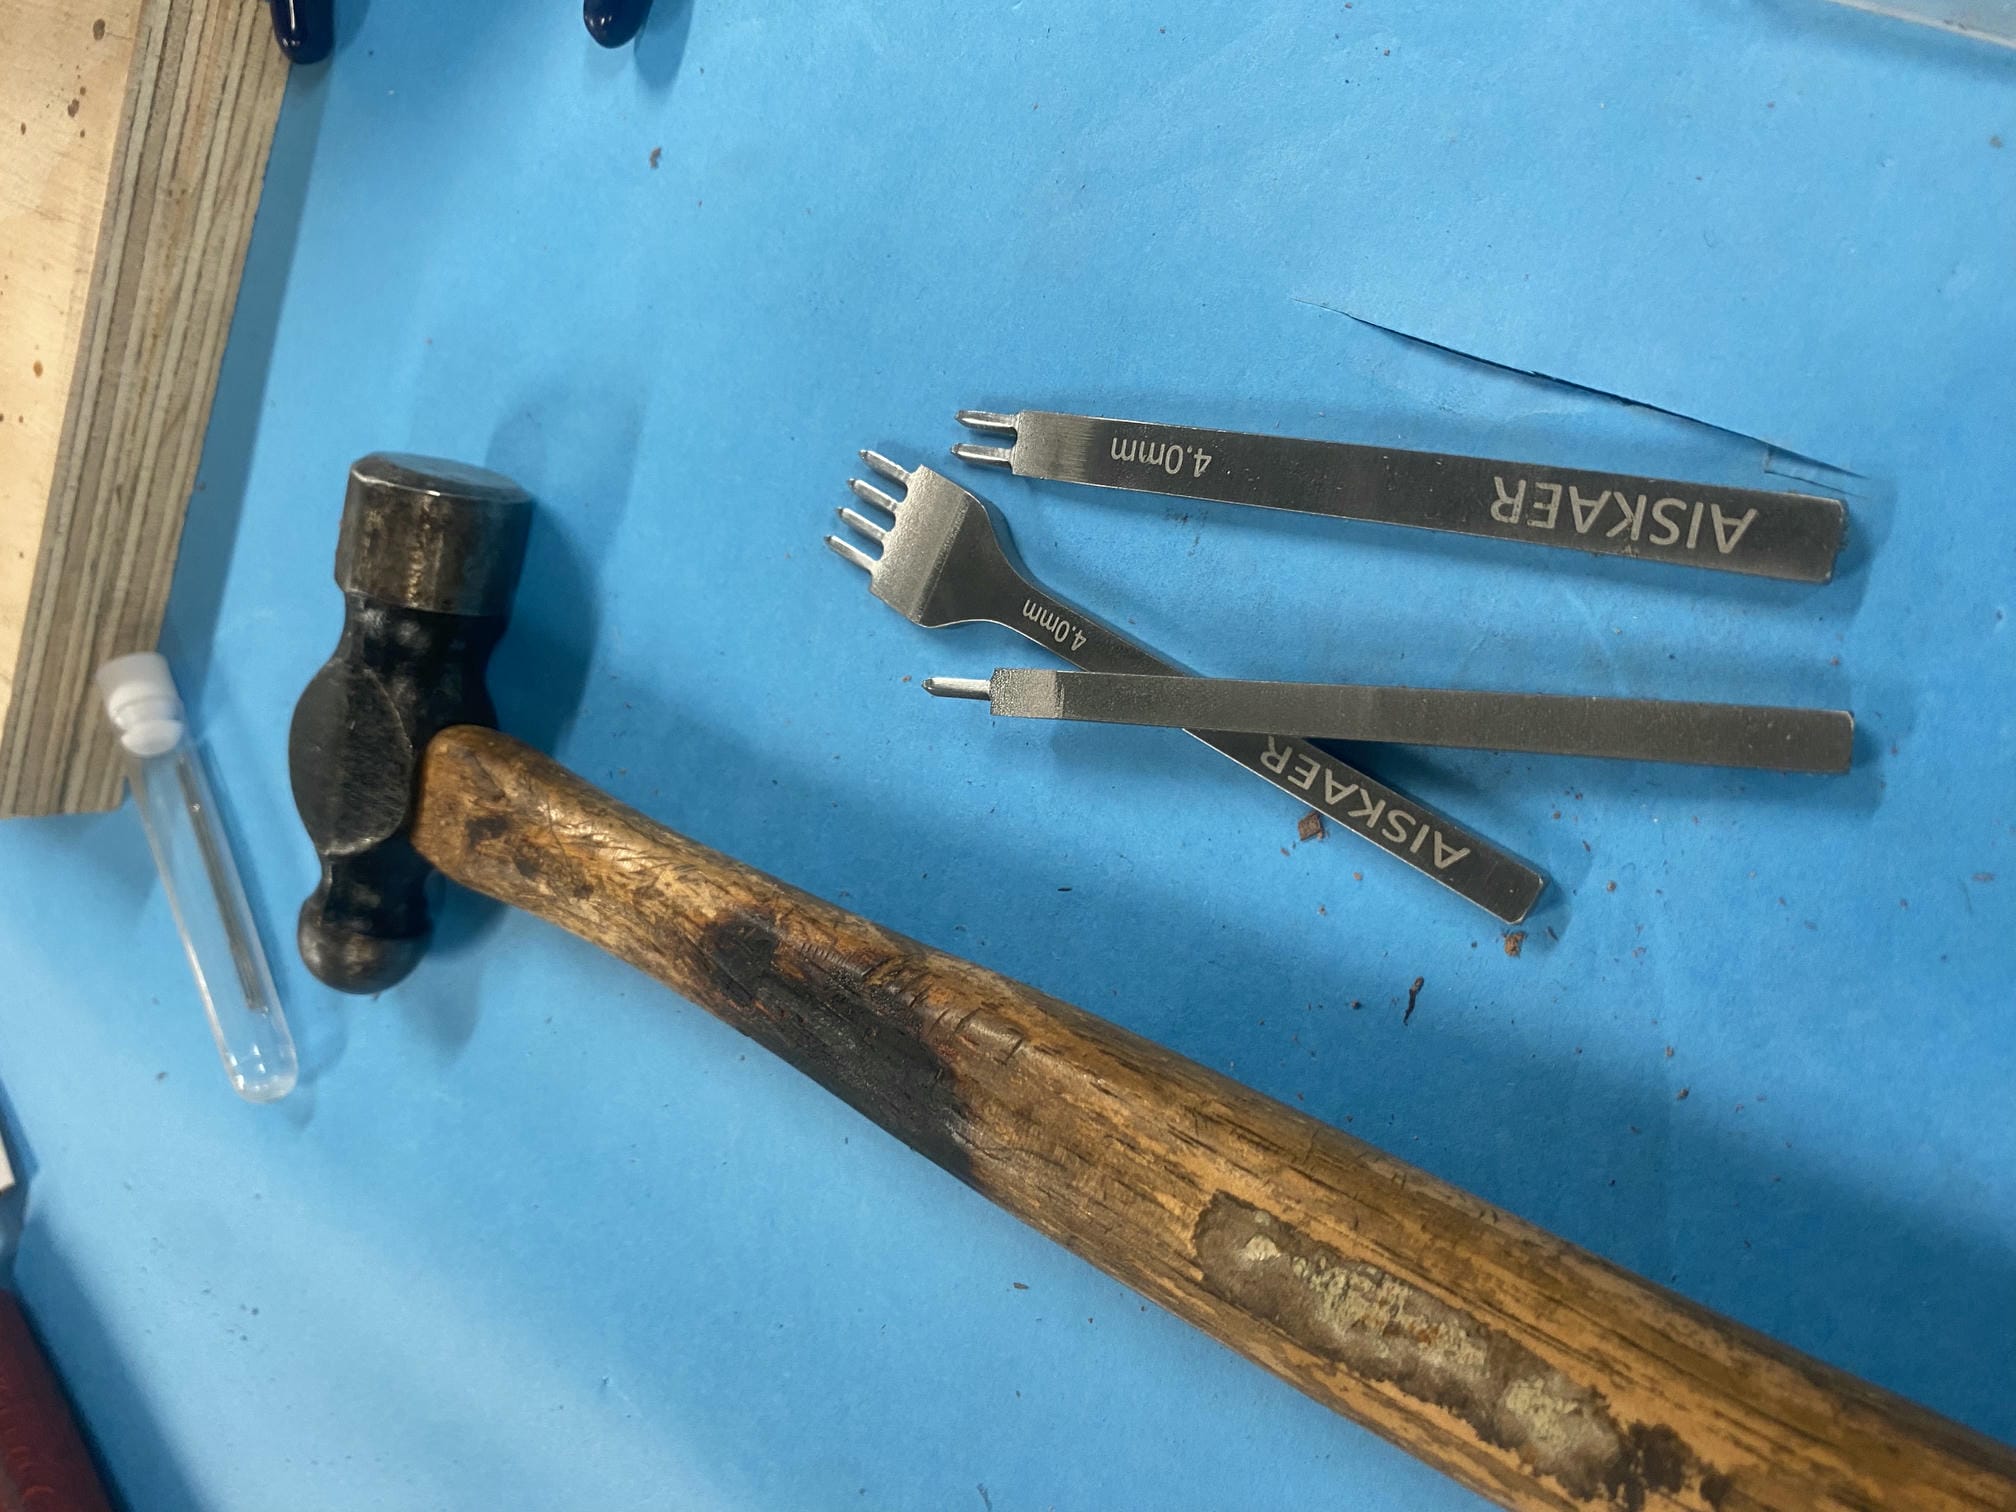
From there, I used fork-shaped leather chisels and a hammer to punch holes through both layers of leather. In order to maintain proper spacing, I overlayed the last "prong" of the fork into the previous hole left by the chisel instead of eyeballing the distance between holes. Around the corners of the pouch, I switched from the 4-prong leather chisel to a 2-prong chisel to get a tighter radius.
After punching the holes, it was time to stitch! I used what is called a saddle stitch so that even if one side of the string broke, the leather would still be held in place. Leather stitching uses special waxed thread to keep the string from fraying. Even with heavy-duty leather needles, it was tough to push the needle through at times, and I ended up breaking three needles in the process! To finish off the stitching, I cut the string and melted the wax with a lighter so that it would melt together with the previous stitch and stay secured.
I then trimmed the edges of the leather to the final dimensions I wanted again with the utility knife, then used a leather beveler to remove the rough corners. Afterwards, I burnished the edges to make the edges smooth. This process involves rubbing in burnishing gum (which is a sort of paste) using a burnishing tool, a wooden tool with indents to apply friction to the edges of the leather.
Lastly, I added a grommet to clasp the pouch shut. After applying leather balm to finish, the pouch was done!
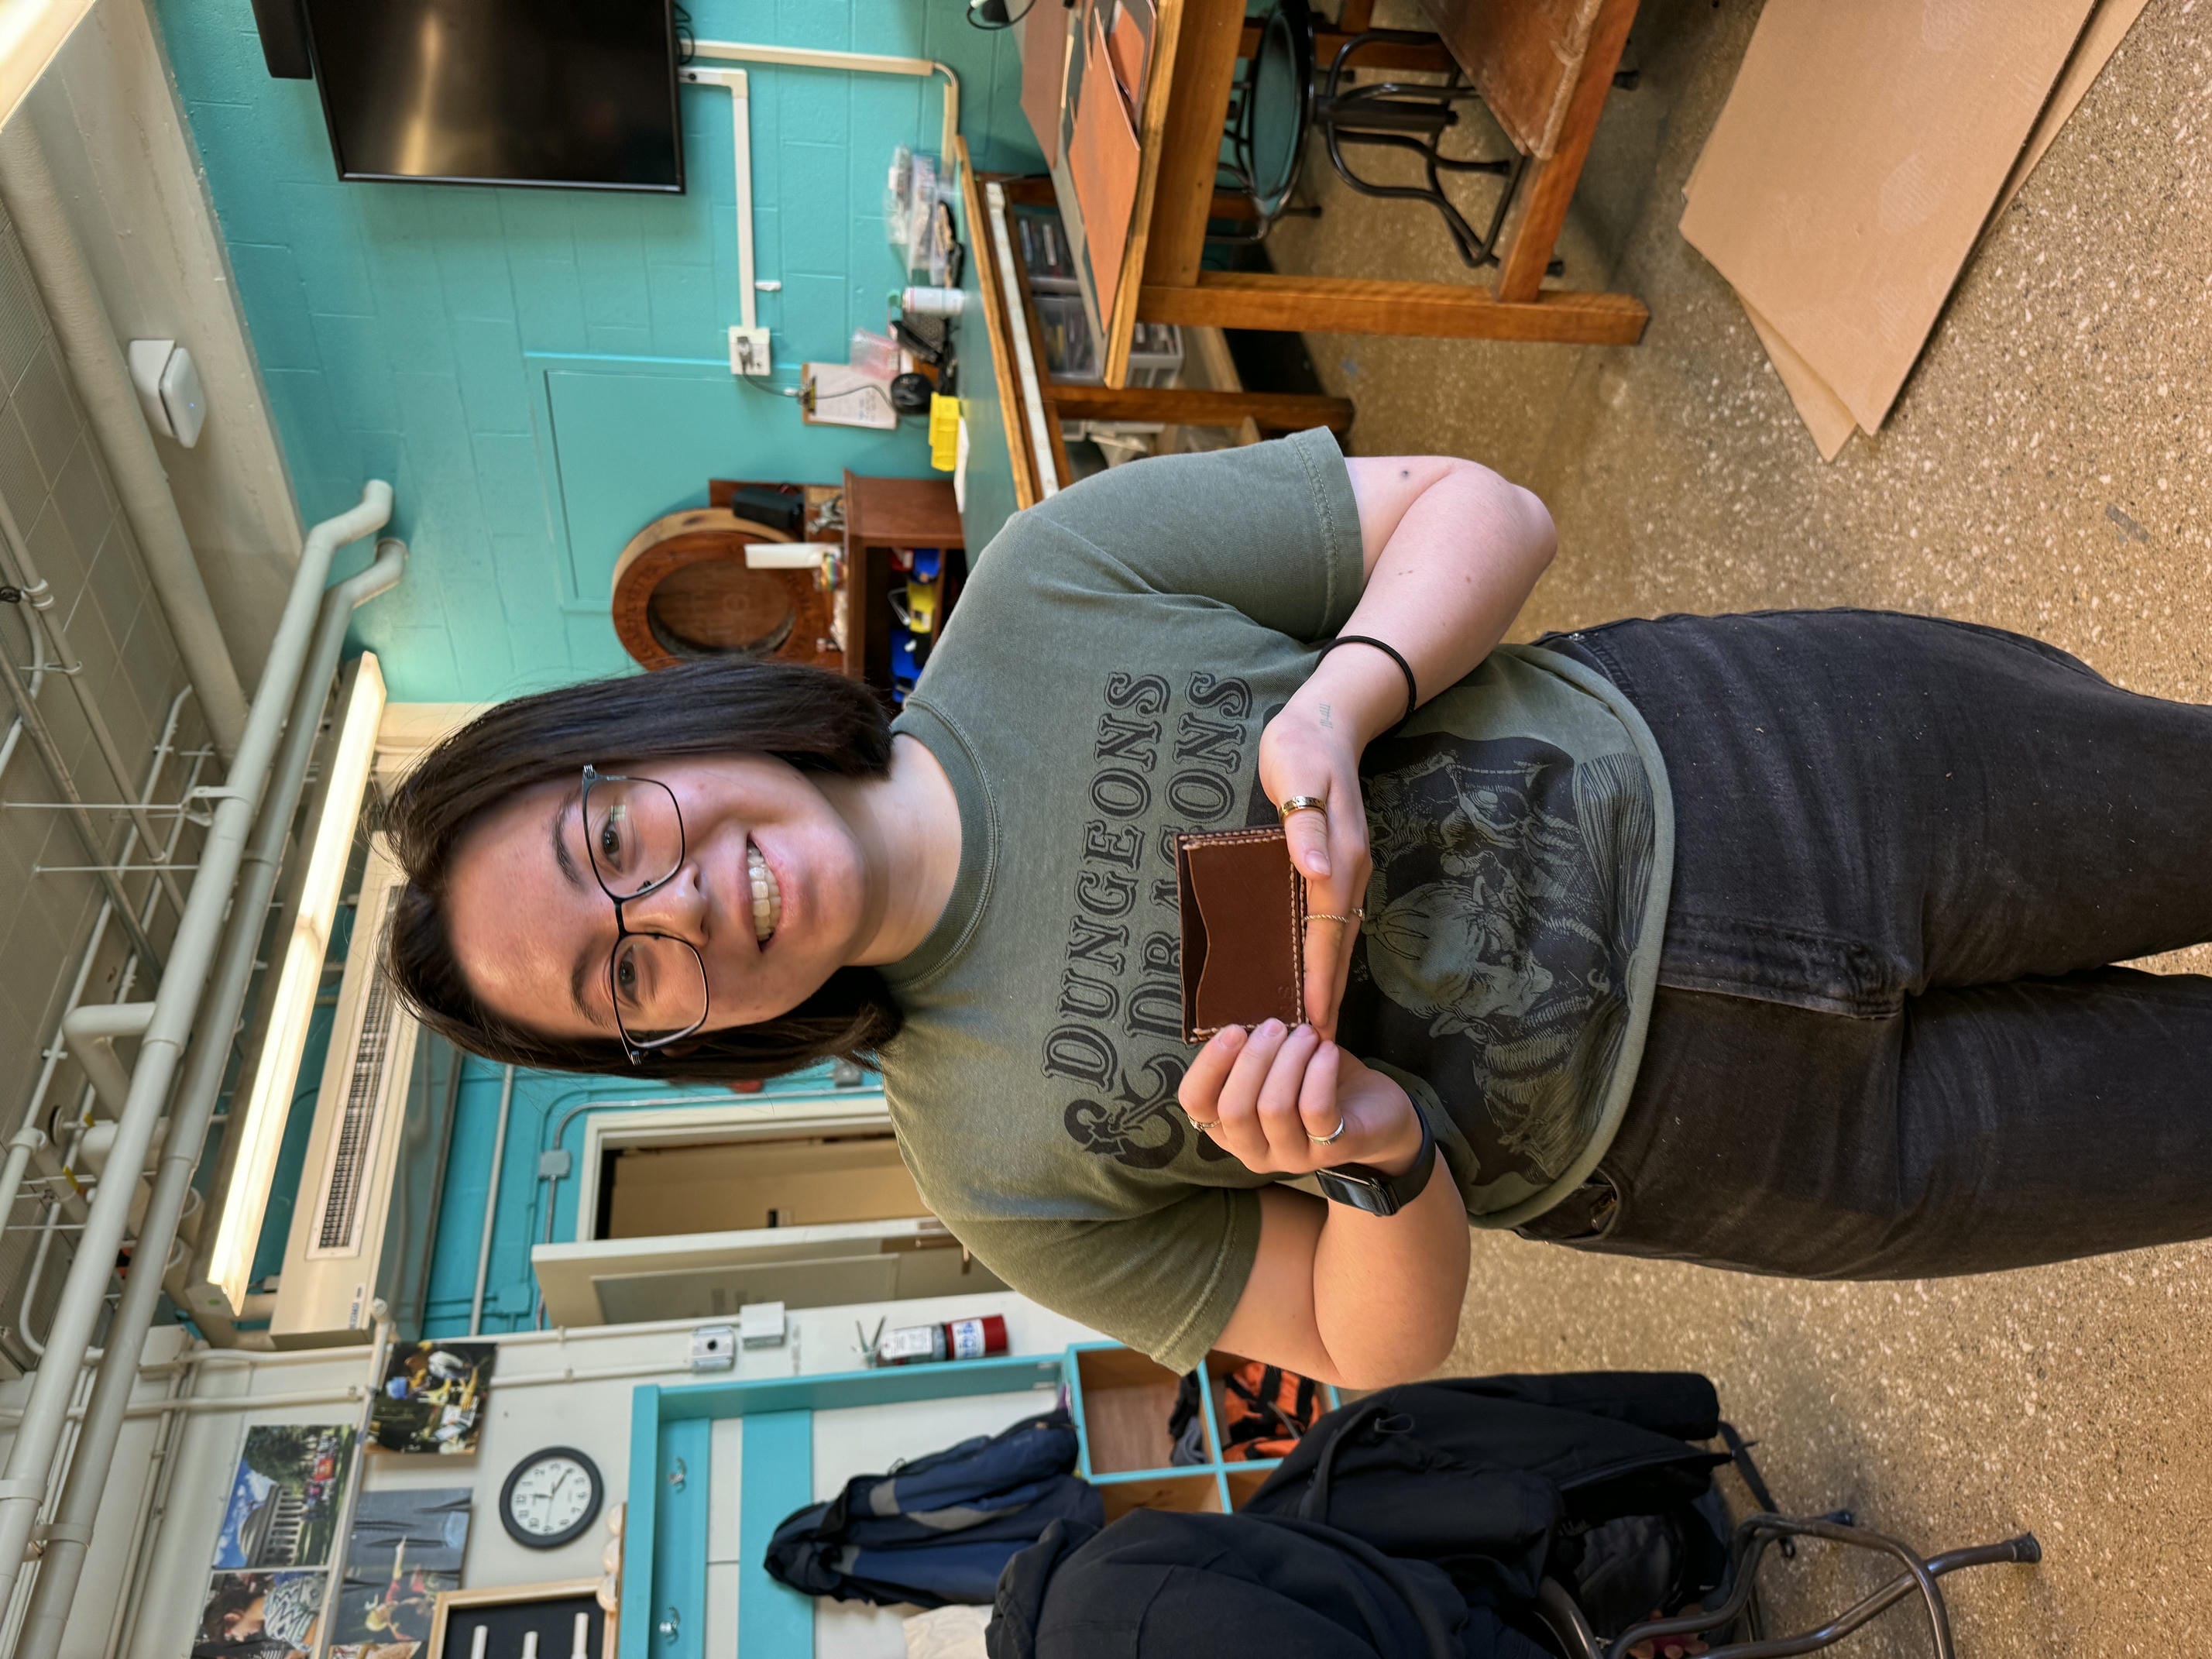
Card holder
In January 2024, I ran a leatherworking workshop for MIT students to learn leatherworking by creating their own wallets. Because the class was funded by MIT, it was also a great opportunity to expand access to free leatherworking tools.
The processes to make these are very similar to the pouch, so I won't go through them in detail.
Wallet
After making my card holder, I decided I wanted to create a "proper" wallet that could hold cash. I also wanted to try out laser engraving using a laser cutter.
I decided to add my robotics team's logo as well as my contact info in case I ever lose my wallet. I had to fiddle with the settings on the Glowforge laser cutter for a bit to make sure it cut through all the way, but ultimately, I found it to be a really nice addition to the leatherworking workflow. The laser-cut holes were much larger than those which could be made by the punches, which made the sewing much faster.
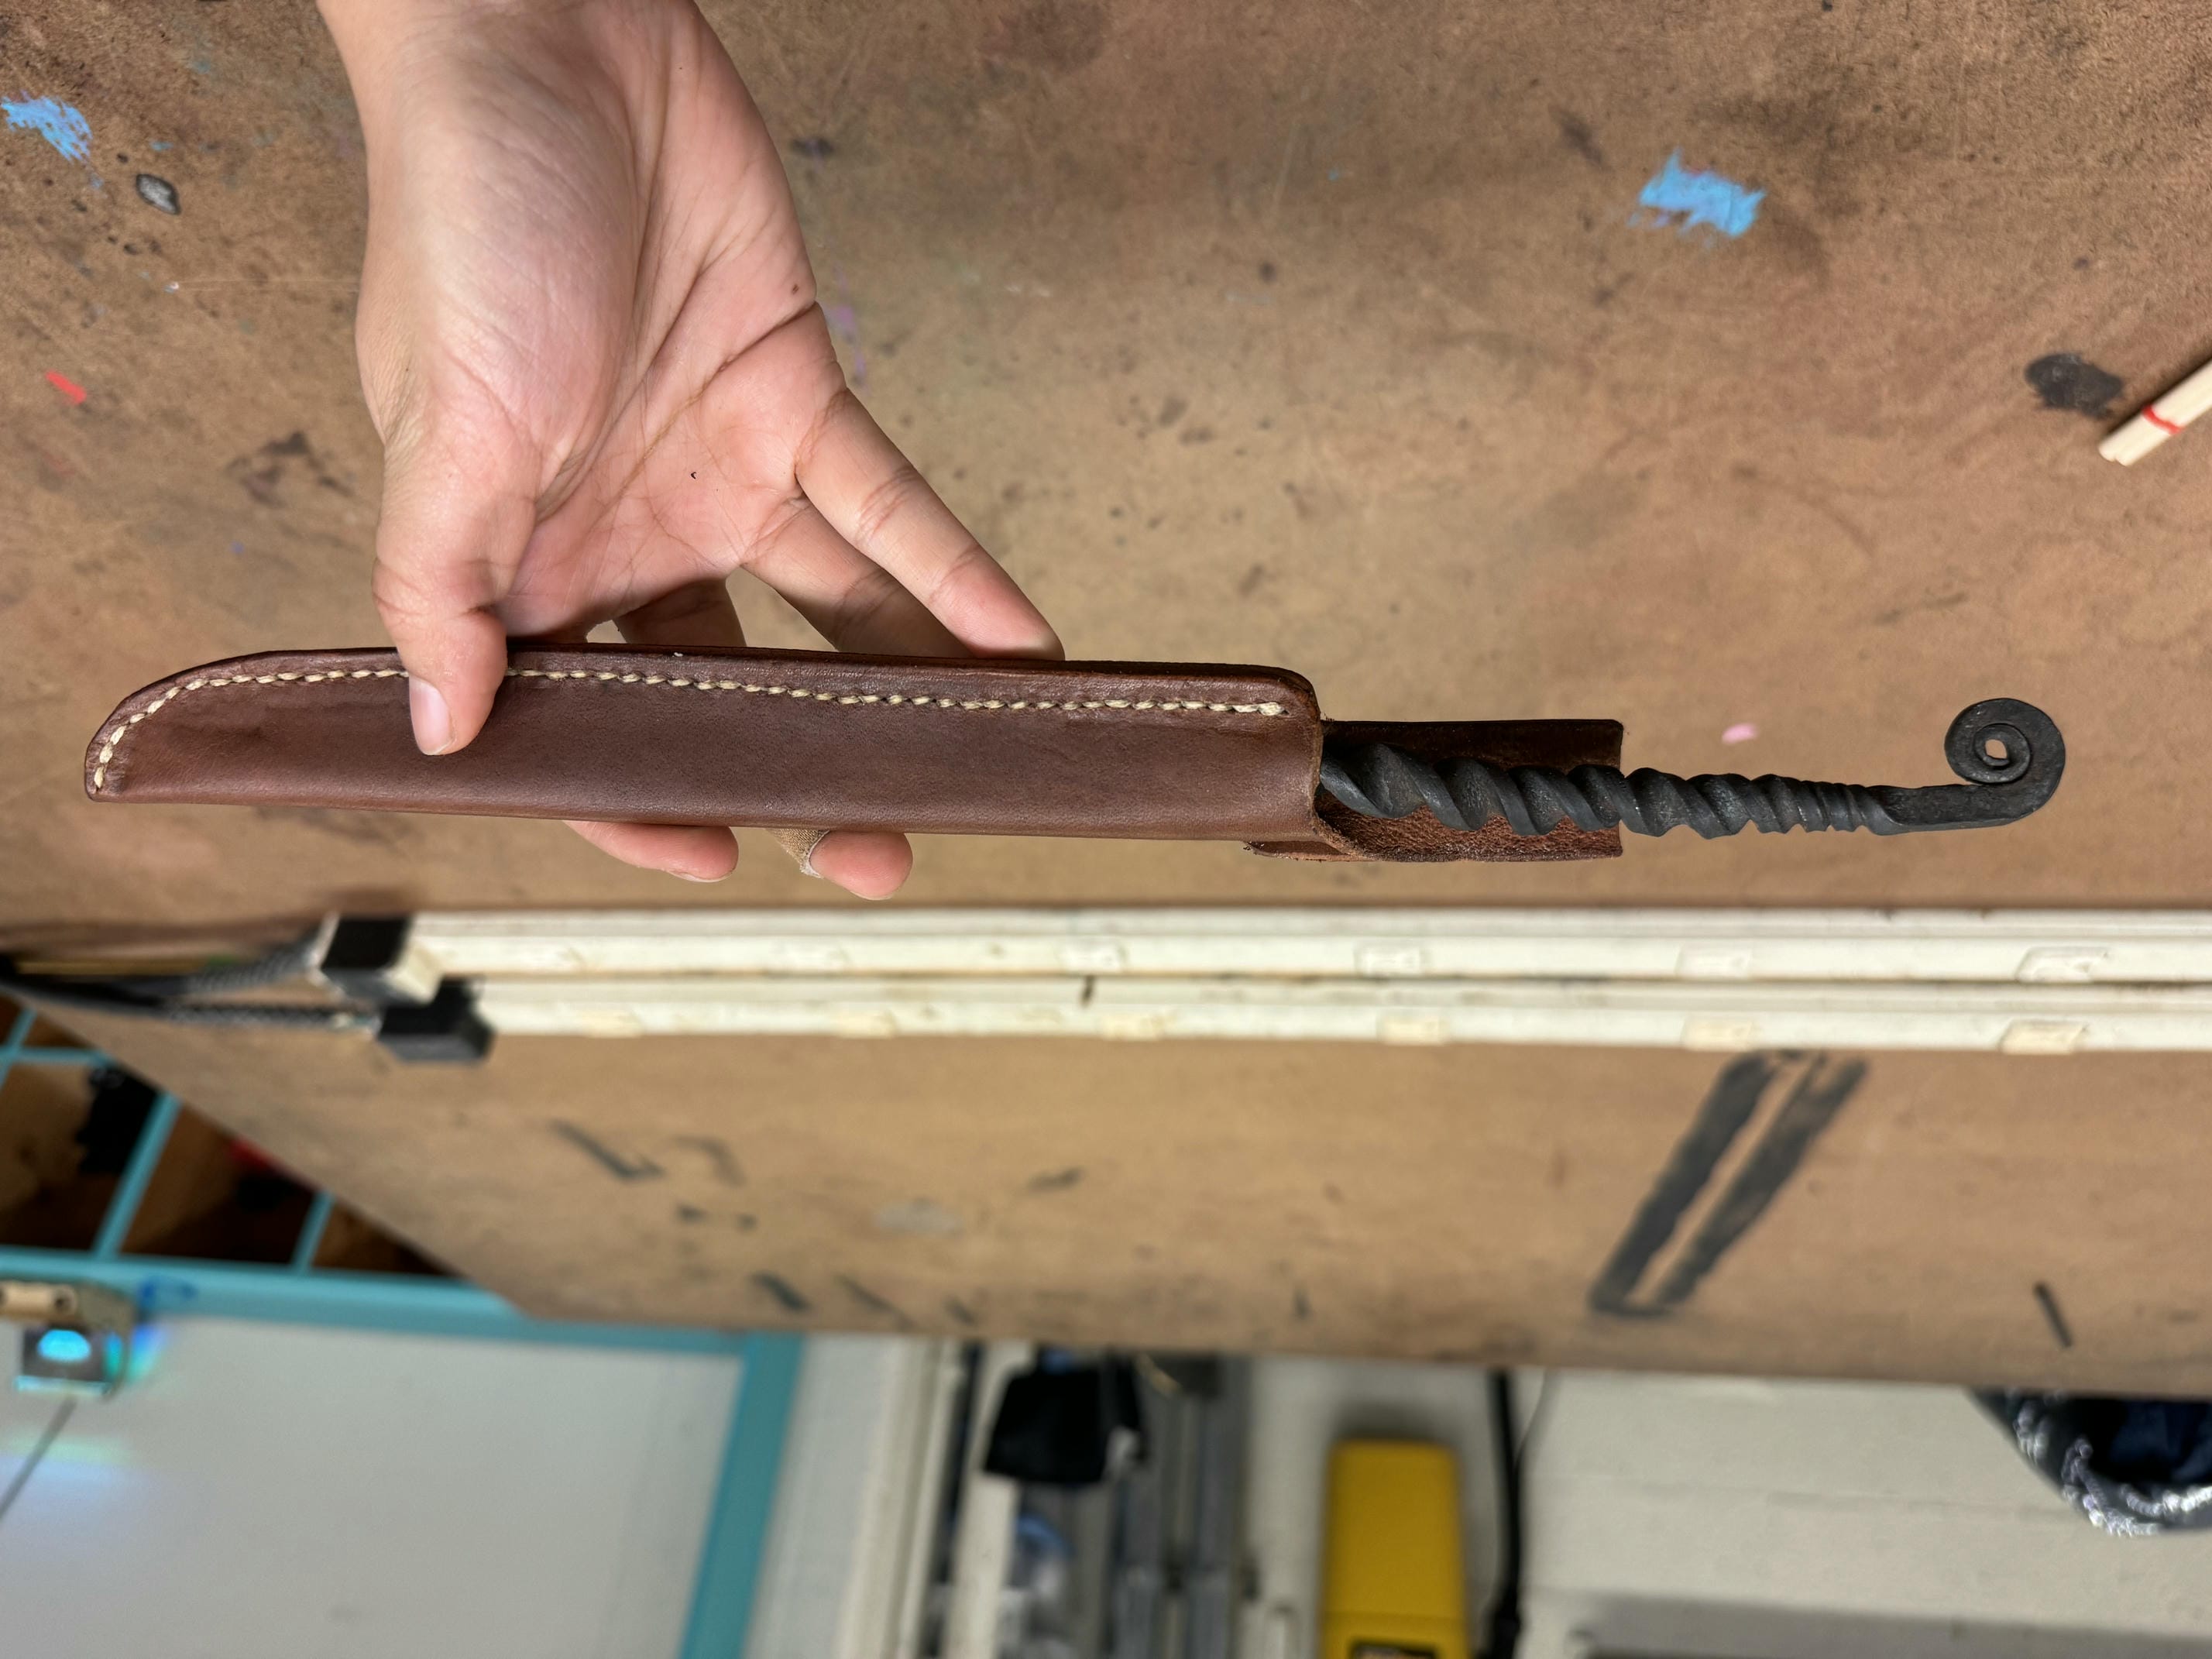
Knife sheath
I wanted to create a sheath for the knife I metalsmithed.
I first sketched and cut out my pattern onto graph paper, which I then transferred to 5-6 oz leather. I made to add an extra strip, which I then sewed down to create a belt loop.
To wet mold my leather, I first wrapped the knife in plastic wrap to prevent the water from causing rust. I got the leather wet to soften it, then pressed it around the knife so that it would fit the contours and binder clipped it together. After drying, the knife was snug in the pocket.
I trimmed the leather, punched holes, and stitched it all together. For finishing, I again beveled the edges, burnished, and applied leather balm.




.jpg)
.jpg)


.jpg)
.jpg)
.jpg)
.jpg)
.jpg)
