Custom rings
- CategoryFor fun
- Project dateSummer 2022
- Skills usedWood lathe, casting, modeling in Rhino, sculpting
About this project
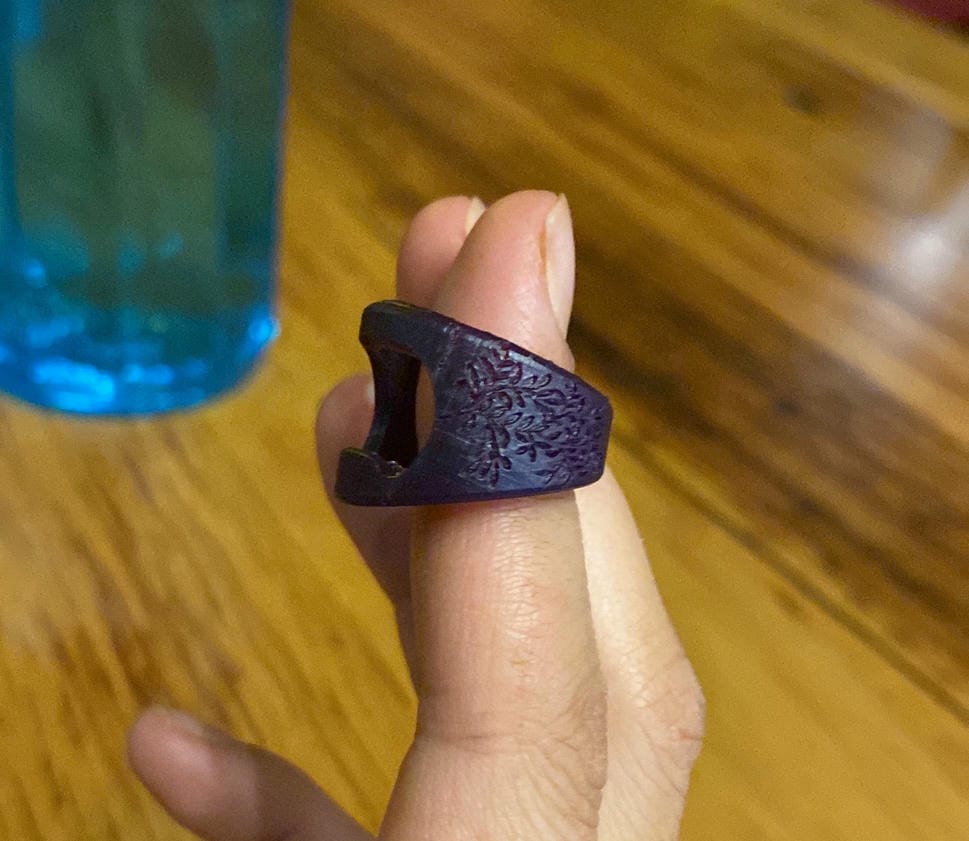
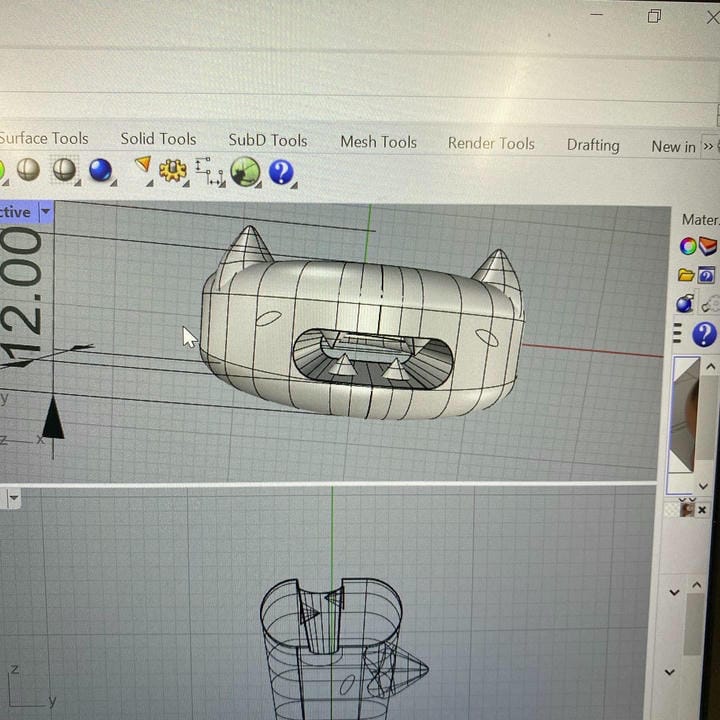
This series of rings was created in Rhino over the course of 2 weeks. First, I had to design the rings. Some of the rings I modeled on Rhino, and some I made in ZBrush VR at the University of Melbourne’s NExT Lab.
This was my first project using Rhino. Rhino has a lot of really nice features which let you work really quickly by typing in commands, which I really liked once I got the hang of it. It's quite different from Solidworks since it's nonparametric; instead of using constraints and dimensions, you can do direct modeling and sculpt contours more easily. It's also crazy how many file types it can import and export to. The only downside is that historical changes are pretty much impossible to make, but that didn't really matter for this project. If I wanted to change the ring size, I could scale the whole thing up or down assuming the printer could support that resolution.
Eventually, here are how the models turned out!
After modeling the rings, we then 3D printed in Formlabs castable wax, then investment casted in various metals, including bronze, brass, and silver. Typically, wax resins have issues with casting as they leave behind residues which create voids in final casts, but these rings were so small that this effect was minimal. The Formlabs resolution was very impressive, with printed engravings 1 mm deep still appearing in the final investment cast.

I also made a wood ring on the wood lathe. I first drilled a hole in the wood to my ring
size, then I created a jig to hold the ring stationary so that it wouldn’t spin in
place on the ring. I did so by first turning a nub, then splitting the circular cross
section into quarters by making two cuts with a saw. I then rotated the block of wood
onto the jig, pushing towards the base until it no longer could be hand spun. With
the piece friction fit onto the jig, I was able to turn the square piece into a
round ring. This step actually took several tries with different pieces since the
wood grain is actually very delicate across one direction, and a thin round piece
would be subject to very high stress. As a result, I had two rings snap in half
during this step. On the third try, I managed to make myself a cylinder of wood,
which I then parted into a smaller ring and then chamfered the edges. After
twisting the piece back off the jig, I hand sanded it to fit my finger better and
remove any rough edges, and then applied finish.
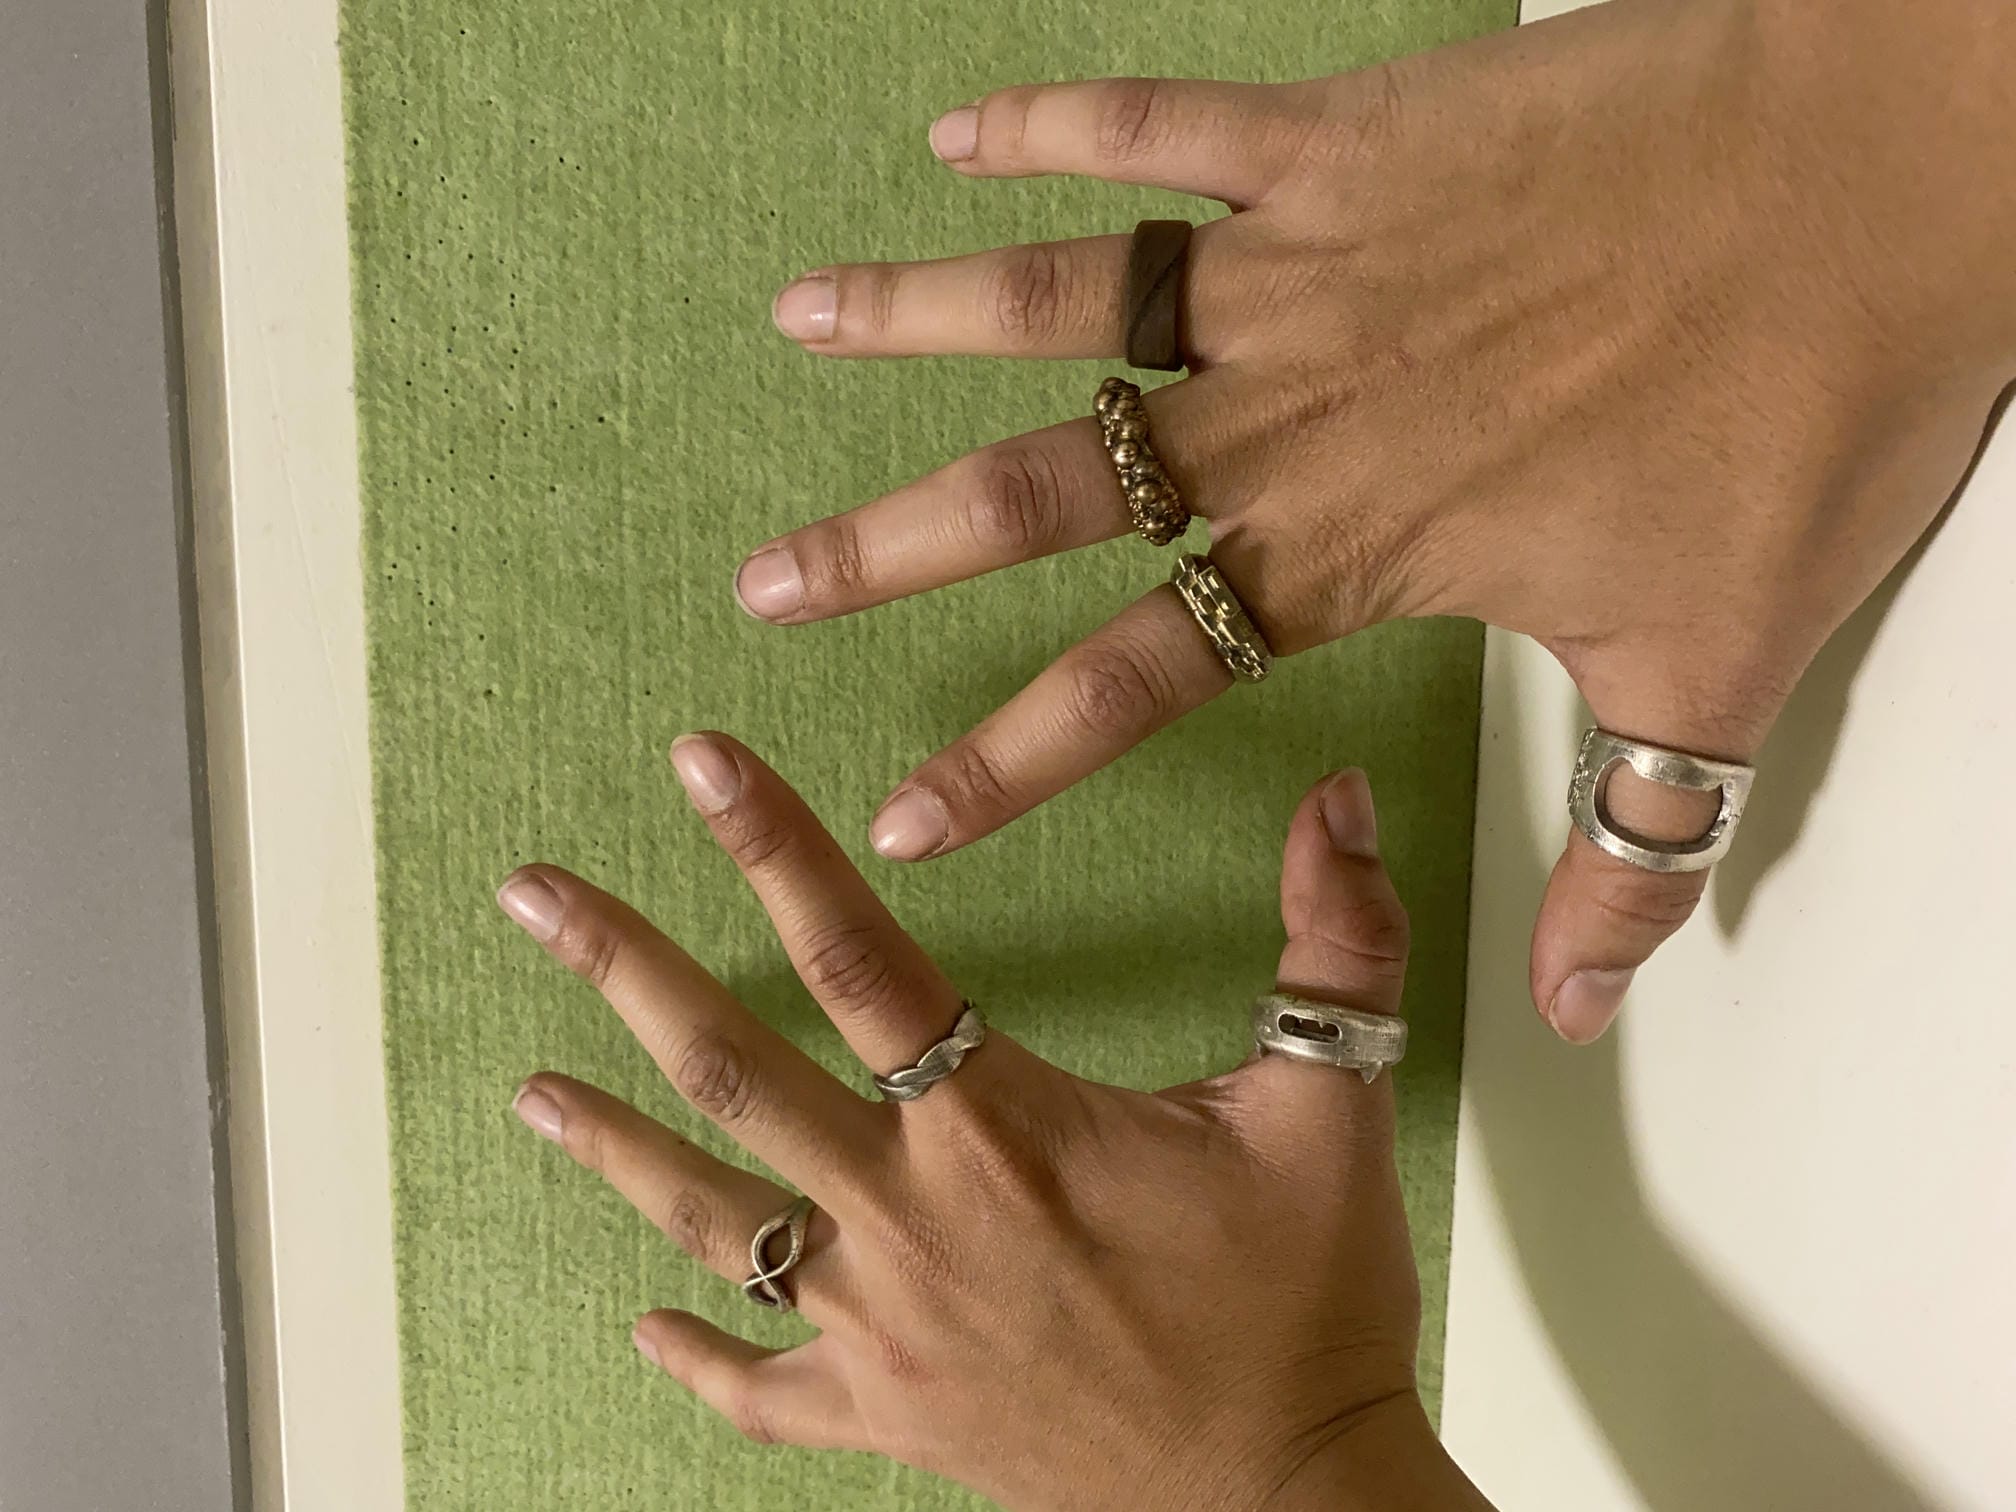
I would advise anyone else attempting this project to apply epoxy or other watertight sealant to the outside of their rings, since wood expands when it soaks up water, which caused it to get stuck on my finger one time after washing my hands!
Ultimately, here is how all of the rings turned out!


