
Lithophane Map
- CategoryFor fun
- Project dateFebruary 2025-Present
- Skills usedPlanar, joiner, table saw, drum sander, nail gun, bandsaw, domino joiner, Blender, laser cutting, Adobe Illustrator, SLA 3D printing
About this
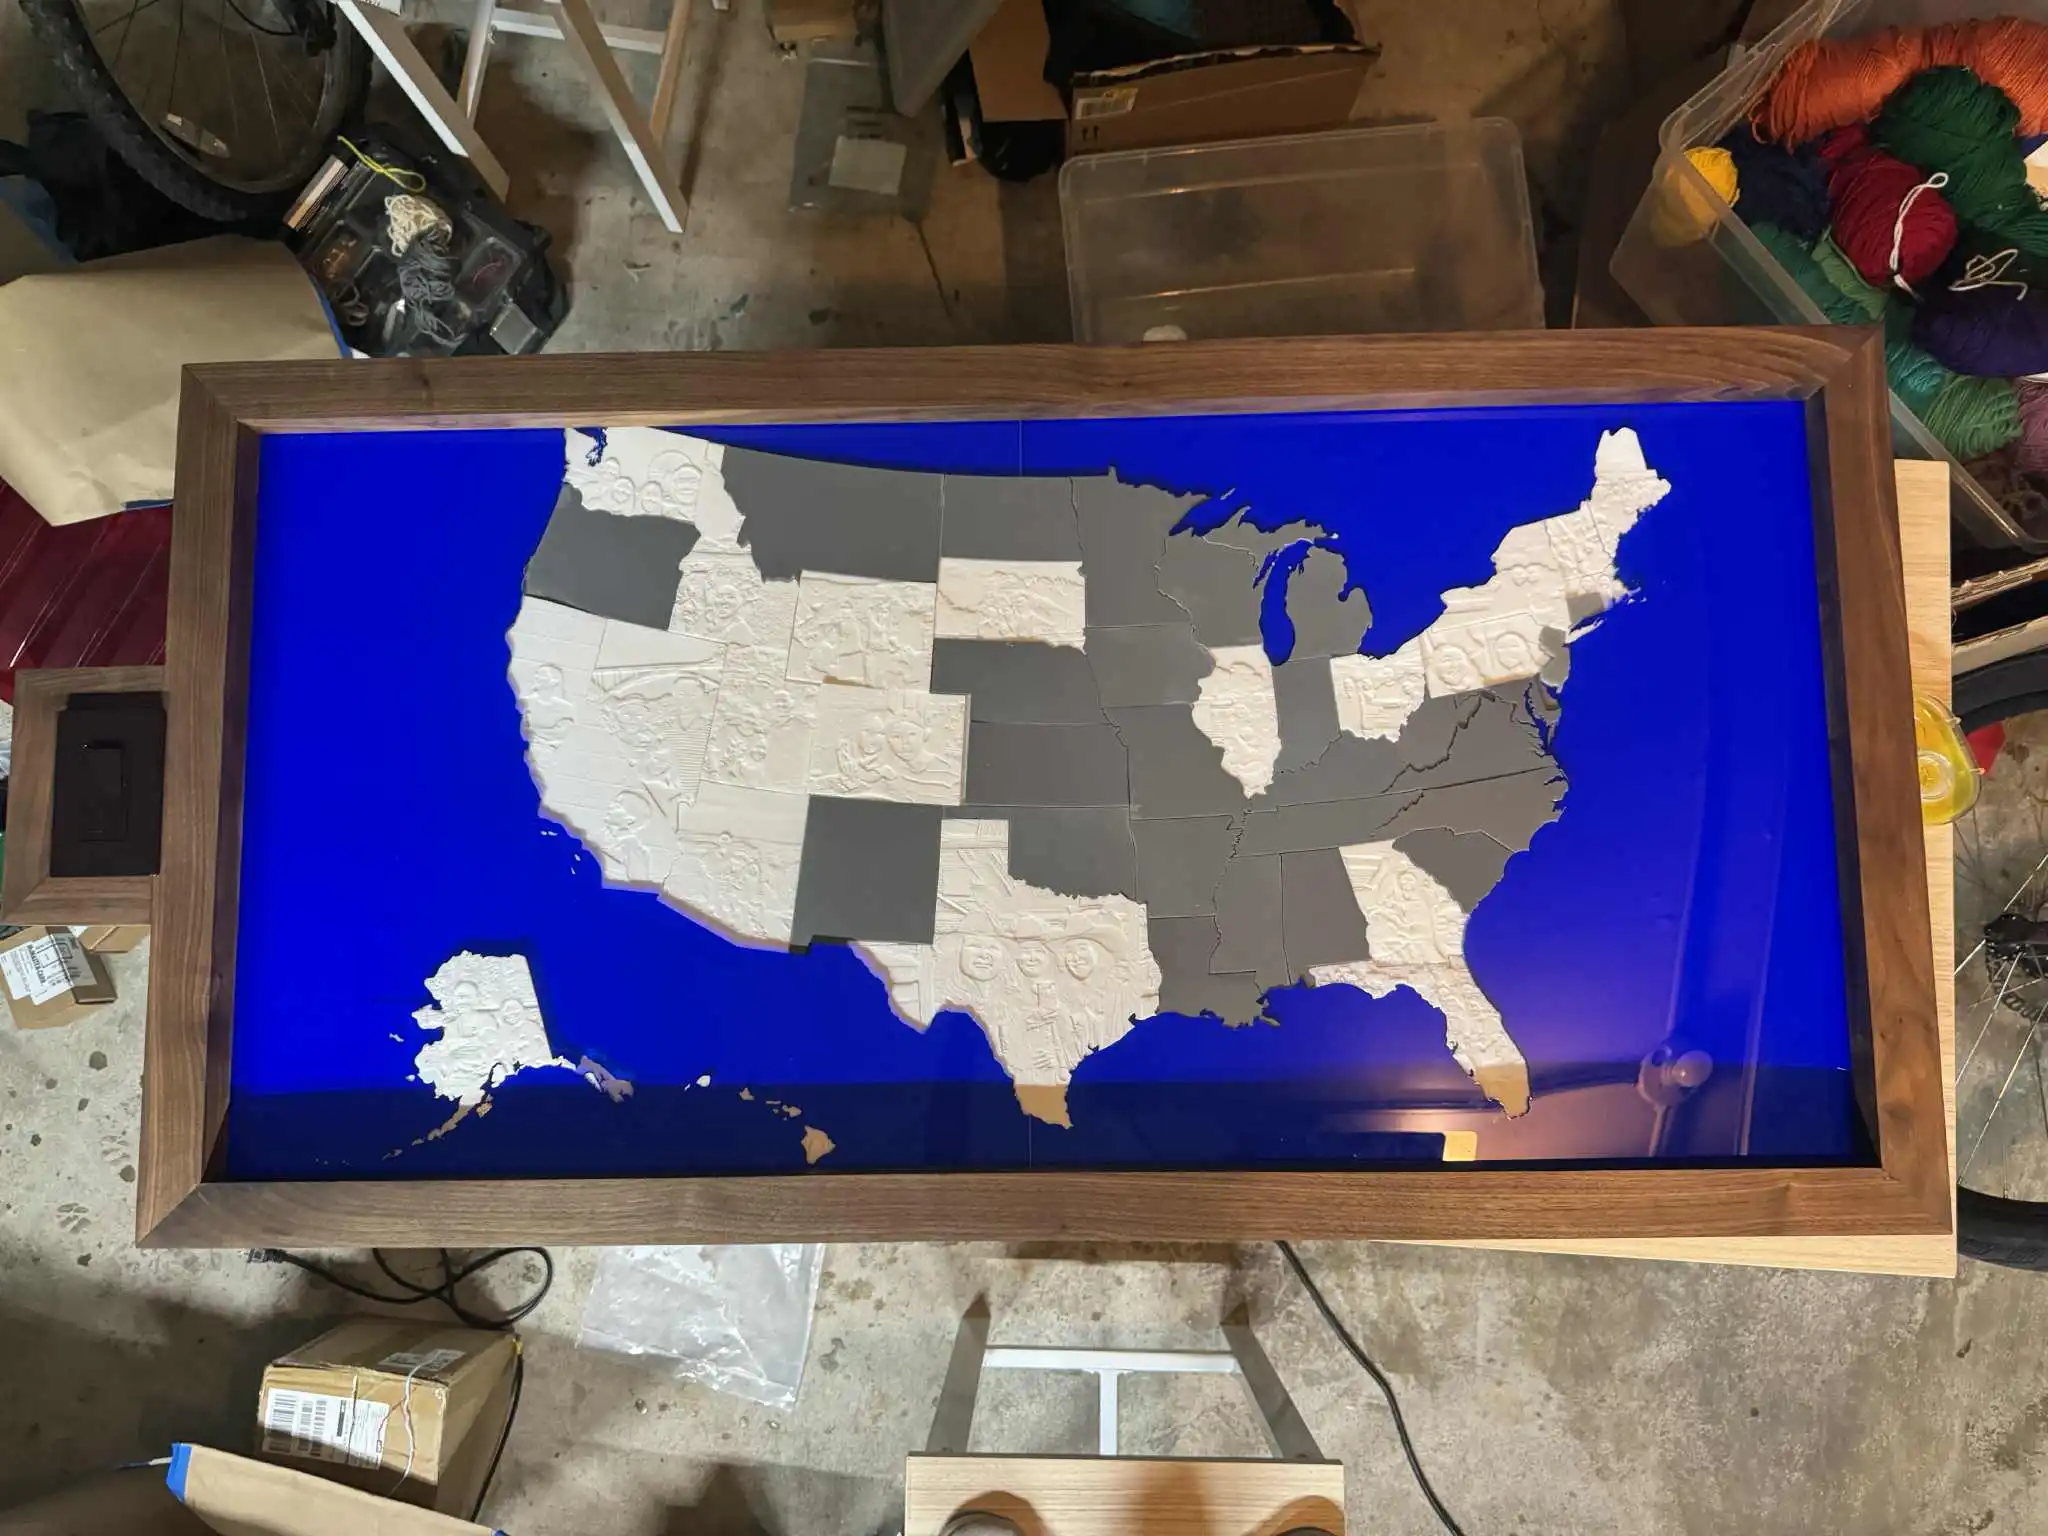
In this project, I made a map of the U.S. where each state is a different 3D-printed piece. States I've visited are each lithophanes of a picture I took there, while states I haven’t yet visited are a flat grey. The 3D-printed pieces are mounted on a 2’x4’ LED panel so the images show clearly.
LED Panel
In order to illuminate the lithophanes, I bought a 2’x4’ LED panel and connected it to a 10V dimmer switch and 14 Gauge power supply cord. Different light temperatures were programmed into this particular LED panel, which is a fun extra touch. This was my first time working with wire nuts and 120V power, and thankfully I didn’t electrocute myself.
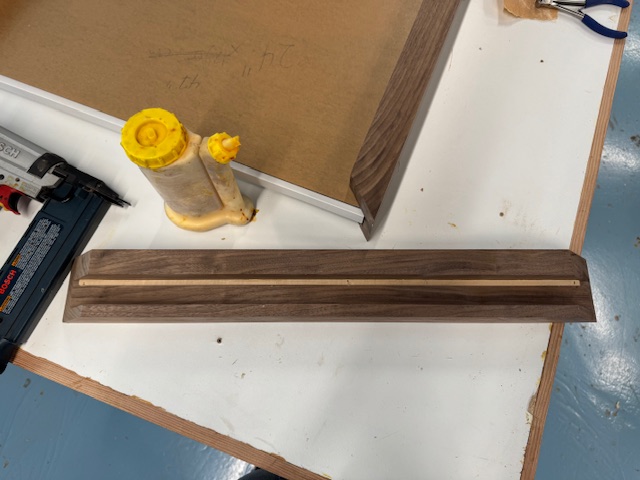
Wooden Frame
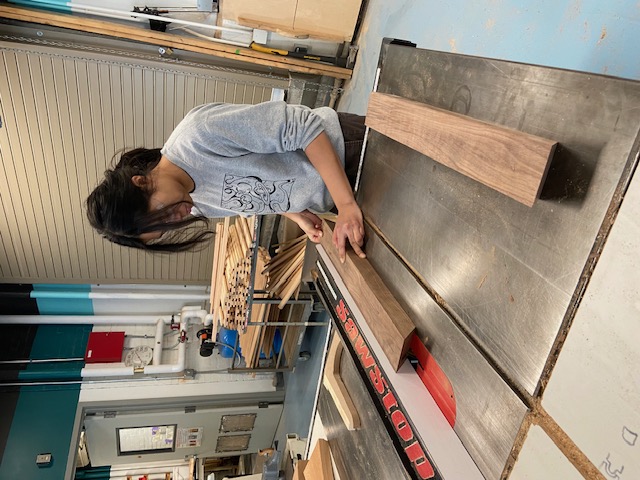
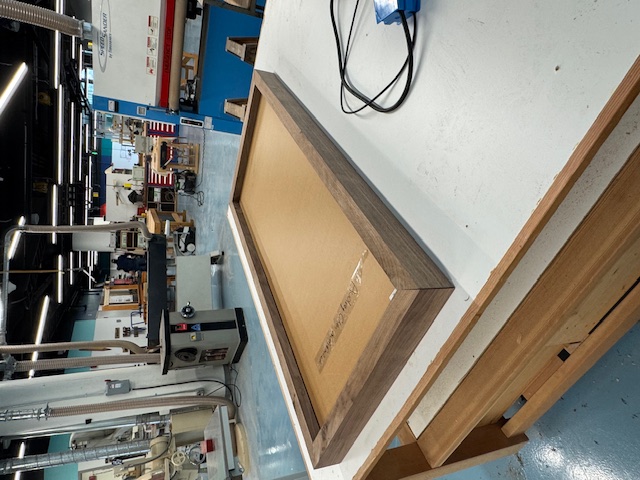
I created the frame myself out of solid walnut, with a separate box to the side to hold the light switch. This project used most tools in the wood shop, including the planar, joiner, miter saw, table saw, drum sander, nail gun, bandsaw, and domino joiner. The procedure I followed was practically the same as any other standard frame, except I needed to split the top piece in half to allow the acrylic piece to slide through the gap, as I wanted to be able to remove the acrylic pieces so I could modify the states as I visited more places.
I also created a J-box for the light switch on the side of the frame, also out of walnut. I intended the piece to be mounted at eye level so you could see all the details, so I put the J-box in the middle of the frame.

Acrylic Water
For the water, I used blue acrylic which I laser cut to the outline of the US. This would create nice spots for the 3D-printed states to puzzle into. Because I couldn’t find a laser cutter that could fit a 2’x4’ panel, I split it into 2 panels down the center.
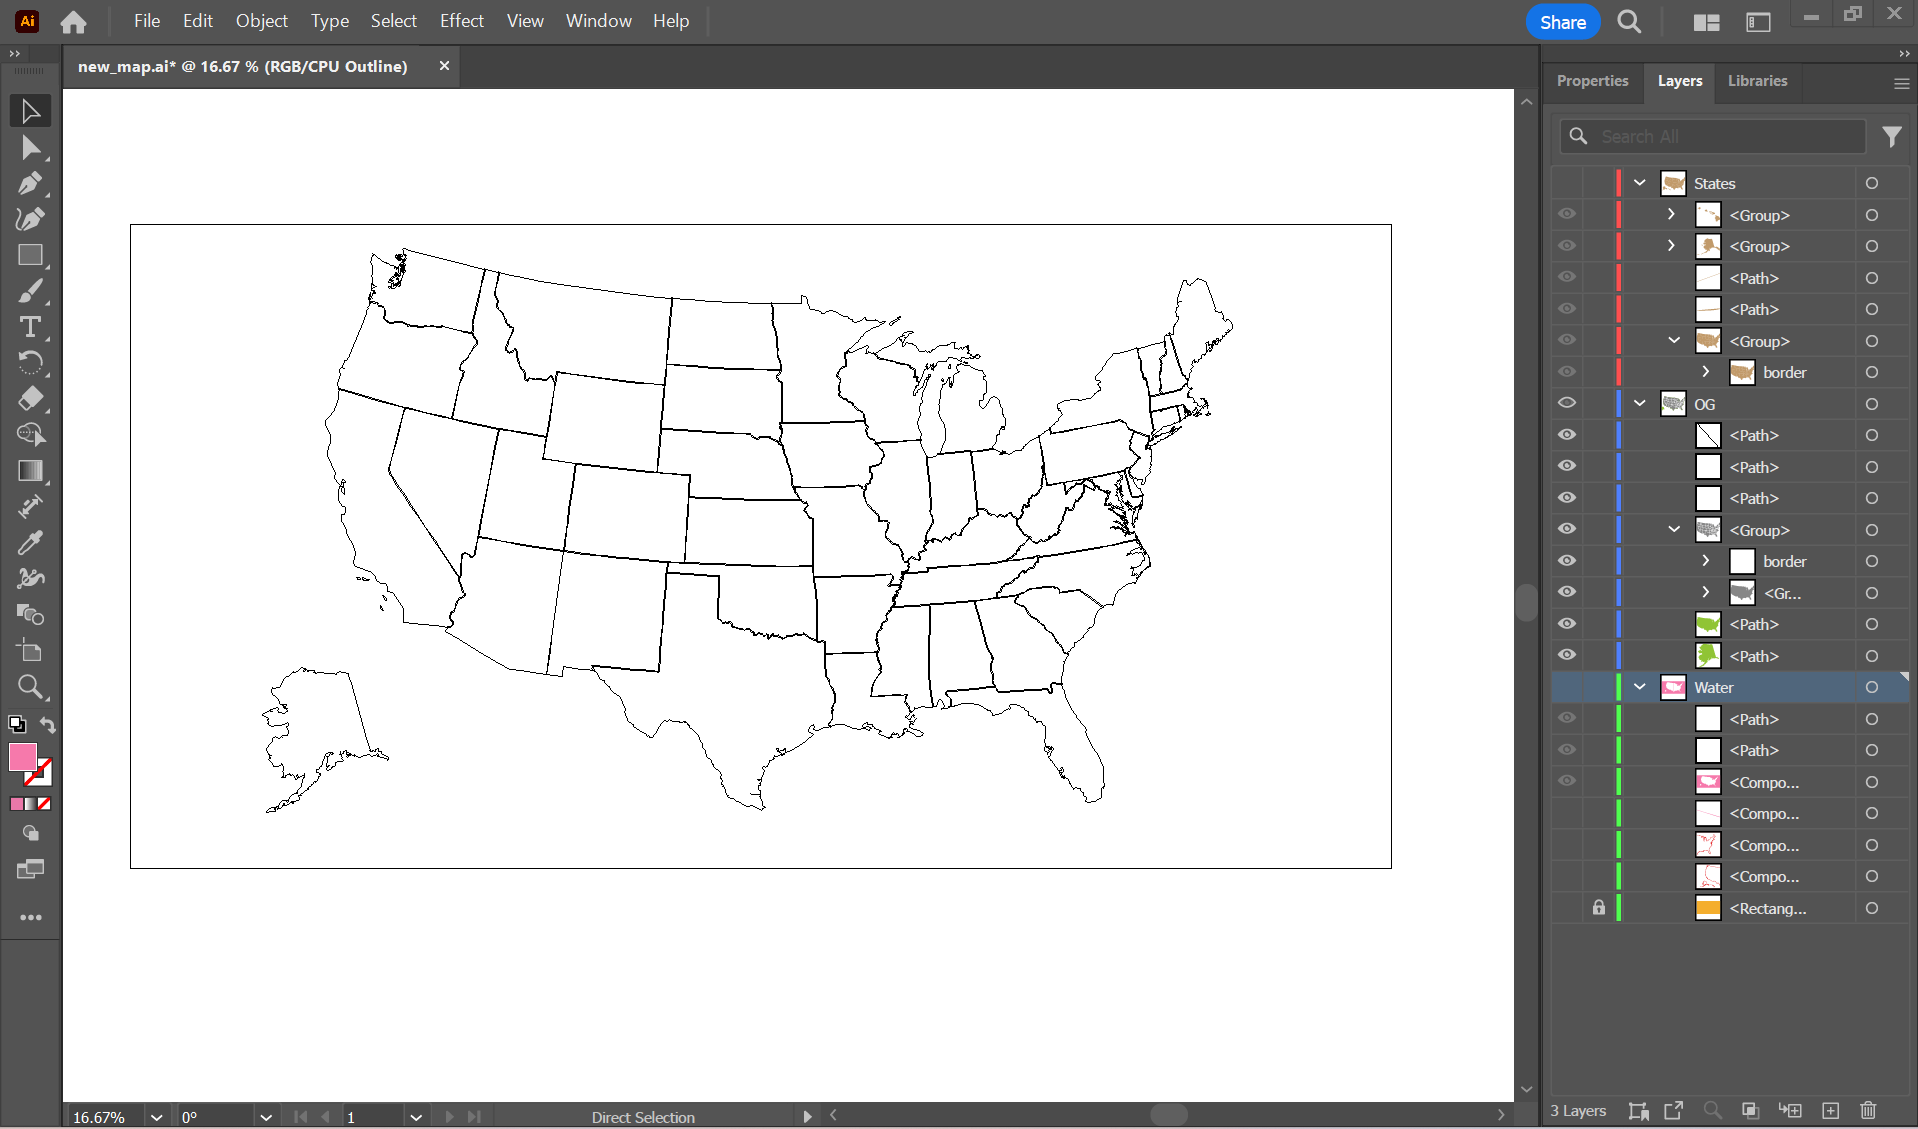
Lithophane States
I first began by pulling a map of the US into Adobe Illustrator. I then pulled the SVG into Blender, then extruded them into a 3D shape, each with a thickness of 1/8”. I added gaps between each state so that there would be “wiggle room” between them and it’d be a less tight fit.
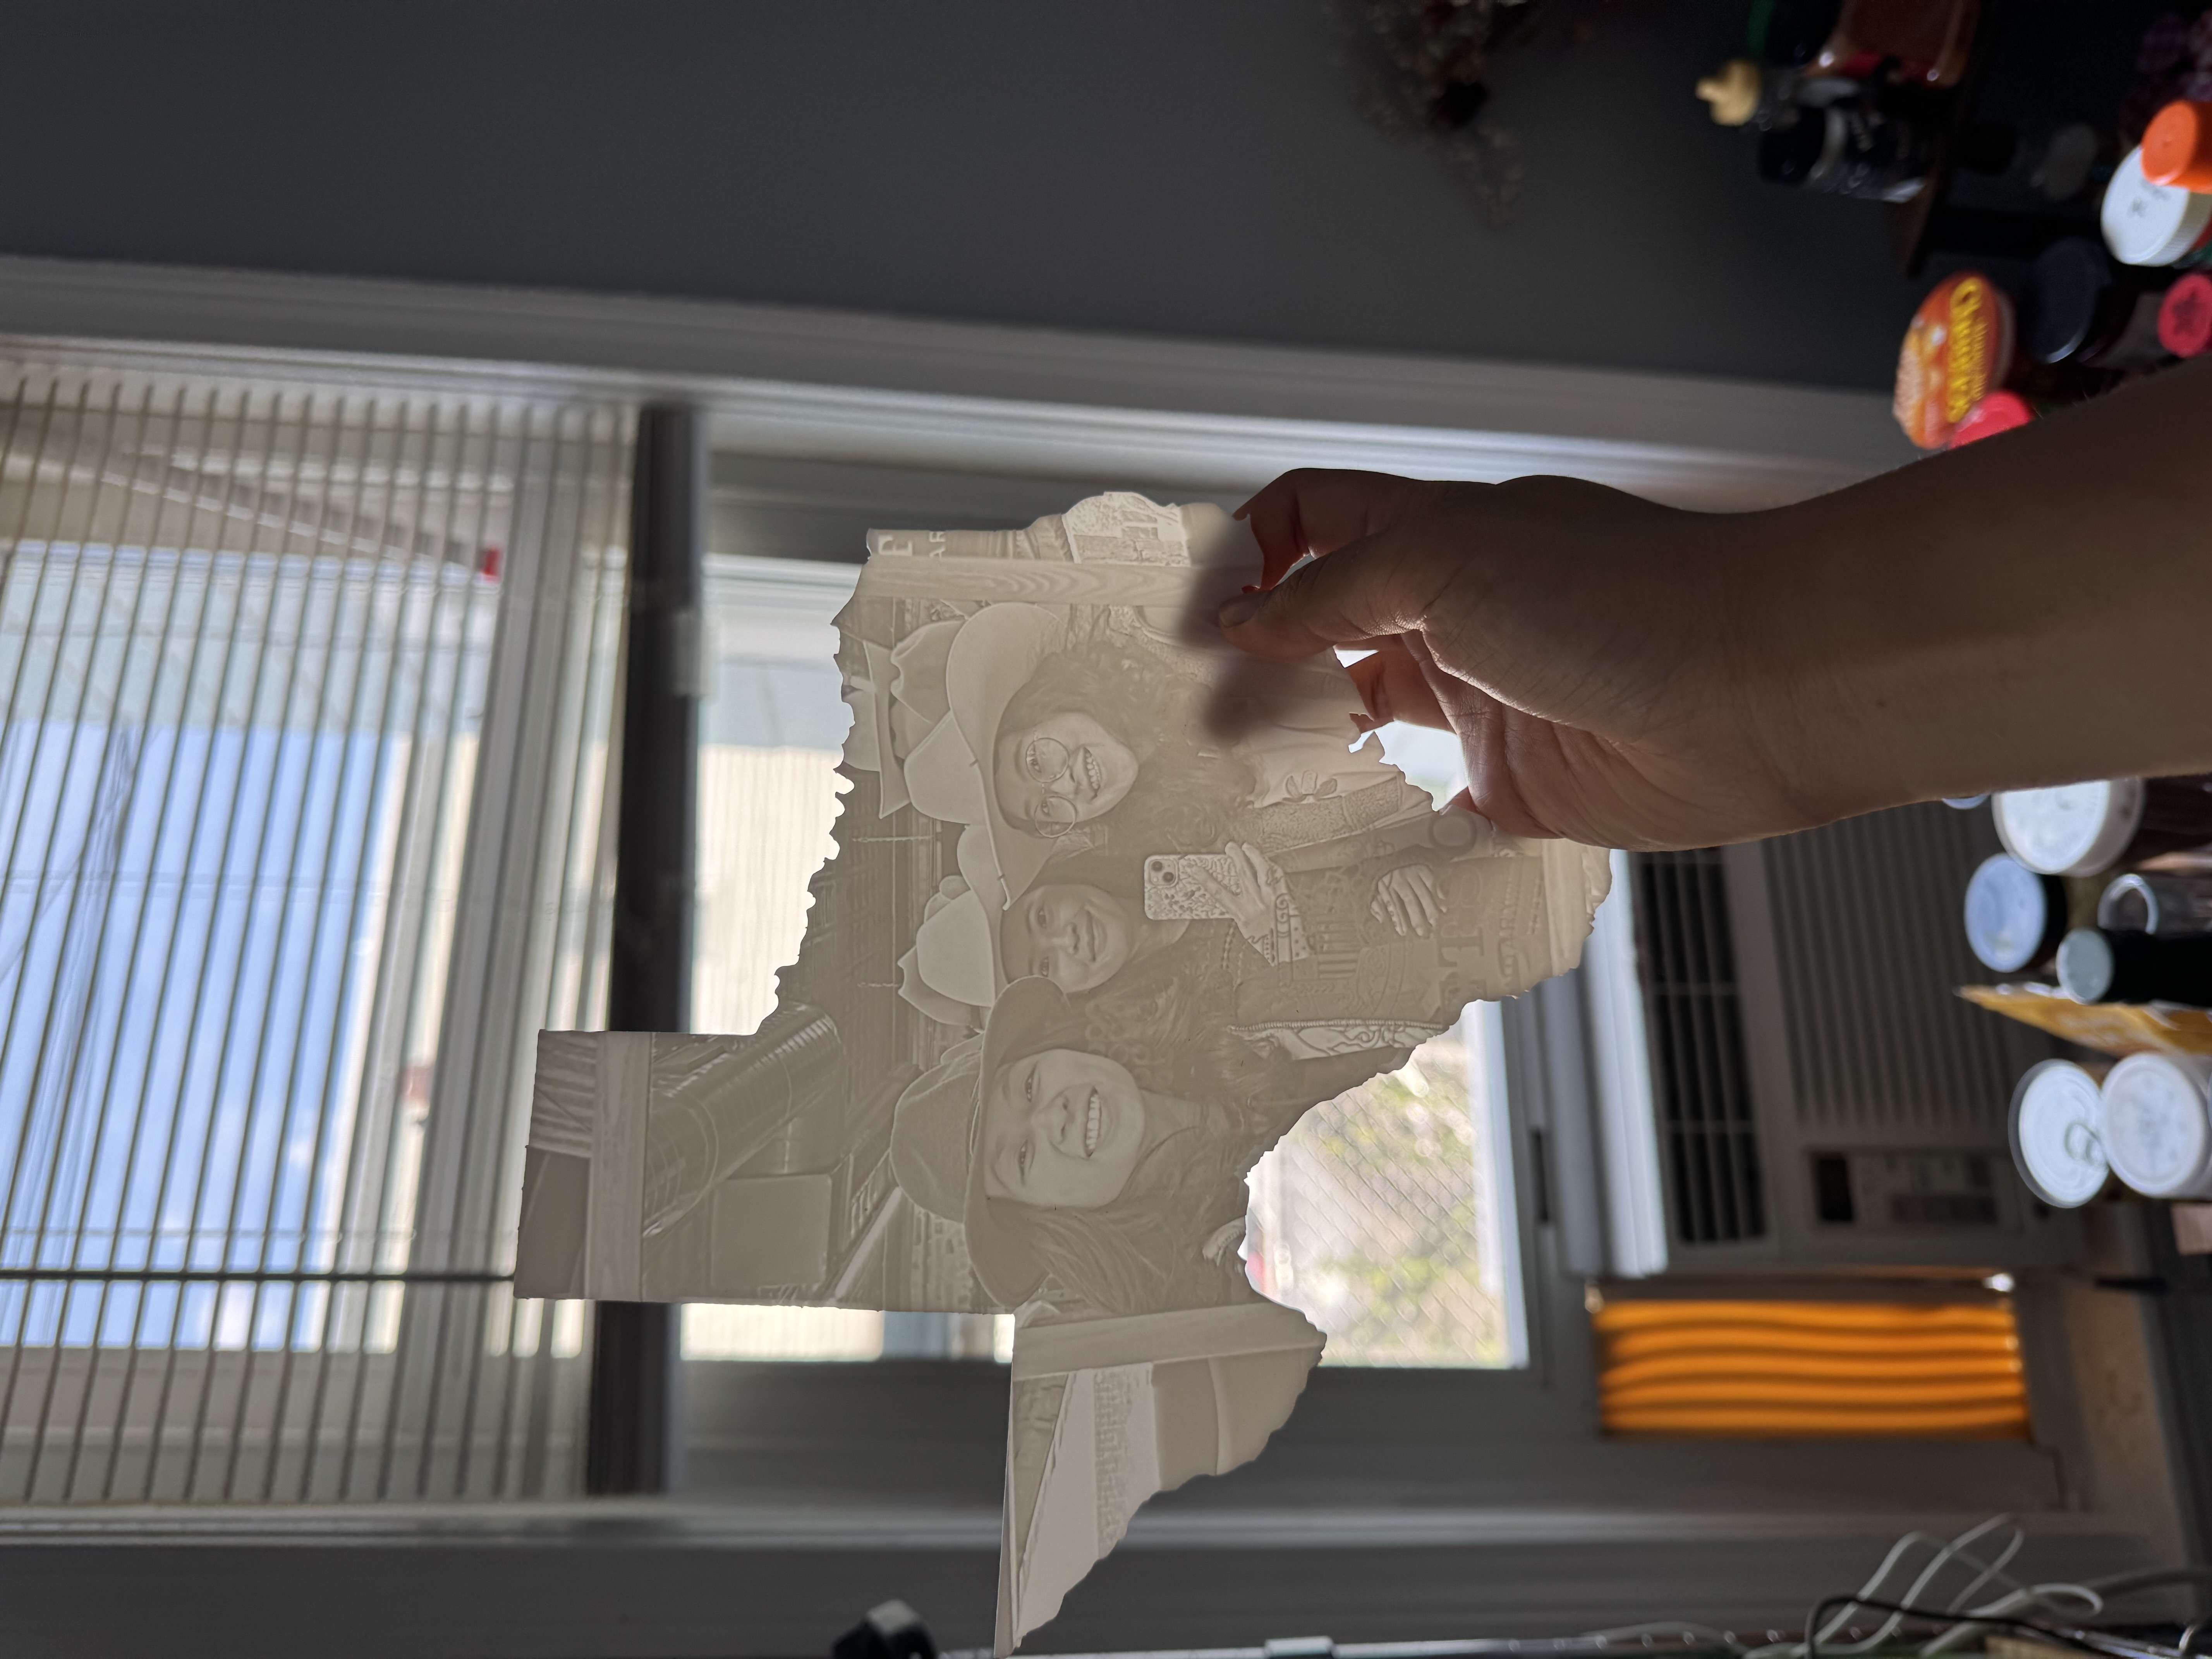
For each state, I took a picture from that state and then used an online generators to create a lithophane STL. In Blender, I used the boolean modifier to effectively “cookie cutter” the right shape of the state out of the lithophane. This was tricky, and I had to learn a lot about repairing non-manifold geometry.
Once I finished the design of each state, I 3D printed it in white SLA resin. States I've never visited I printed in grey resin.